Graffiti and Street Art
Street art is visual art created in public locations, executed outside of the context of traditional venues (eg. galleries). The term gained popularity during the graffiti art boom of the early 1980’s. It can be a tool for communication, showing views of dissent, asking difficult questions and expressing political concerns. It is an art form usually created with spray paint or posters. Some artists work free hand, painting with the spray can. Other use stencils. Another method is to create the artwork in a studio first in the form of a ‘poster’ and then paste it onto the street walls later. Other artworks can take the form of sculptural installations or video projections.
Key Artists:
Keith Haring
Banksy
|
Jean-Michel Basquiat
Shepard Fairey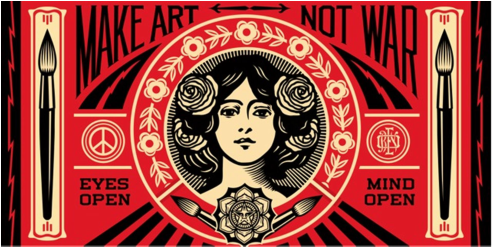
|
Your Task
You will need to create your own 'tag.'
Use the artist Peeta for inspiration when creating your designs. You will need to create a tag using your name. You may like to shorten it or create a nickname for yourself.
Create 3 different designs and try different typeface styles with each. For example one design could have soft round edges, another could be geometric in style with harsh points. In the end your design does not need to be able to be read. You can abstract the typeface to the point where it looks like shapes floating and flowing together (see Peeta's example below).
Once you have finished all 3 designs you will need to choose one. This design will be constructed into a 3D form using cardboard and tape.
Design:
1. Begin your design by writing your name with stick letters. You may like to experiment with this stage. Try putting some letters on angles or extend parts of the letters out, some letters could even be backwards.
2. Block these in with shapes. Again, try different ways of doing this. For example you could choose smooth edges or harsh, pointy letters. You may add an arrow shape to the end of the letters or overlap parts of letters on top of one another. The middle example below uses perspective as well.
|
|
|
3. Refine your designs. Erase any lines that are no longer necessary. Make sure the letters are in proportion to each other.
4. Colour in your tag. Add graffiti and street art techniques such as: blending or layering colours, using bold borders or adding highlights.
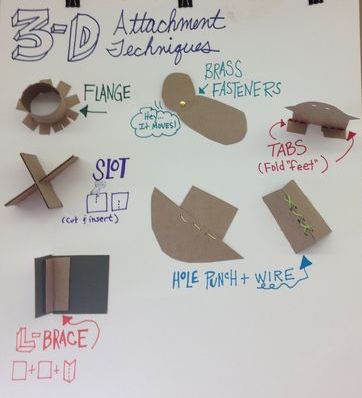
5. Construct your chosen tag design with cardboard. You can create a basic tag or we can problem solve together in class for more creative solutions for this task.
Construction of a basic 3D tag:
1. Transfer you tag onto cardboard twice. One copy is for the top and the other for the bottom.
2. Cut out both tags with a scalpel and cutting matt. (You can cut out each letter or all the letters attached to each other)
3. Cut out a long 2cm strip of cardboard. This will form the edges of your letters. You will need to bend and form this strip to fit each letter.
4. Use masking tape to attach the edges to the top copy of your tag. To achieve a neat finish bend and tape as you go. Try not to leave any gaps!
4. Colour in your tag. Add graffiti and street art techniques such as: blending or layering colours, using bold borders or adding highlights.
5. Construct your chosen tag design with cardboard. You can create a basic tag or we can problem solve together in class for more creative solutions for this task.
Construction of a basic 3D tag:
1. Transfer you tag onto cardboard twice. One copy is for the top and the other for the bottom.
2. Cut out both tags with a scalpel and cutting matt. (You can cut out each letter or all the letters attached to each other)
3. Cut out a long 2cm strip of cardboard. This will form the edges of your letters. You will need to bend and form this strip to fit each letter.
4. Use masking tape to attach the edges to the top copy of your tag. To achieve a neat finish bend and tape as you go. Try not to leave any gaps!
'This is Now' worksheet
Artist of inspiration:
Peeta
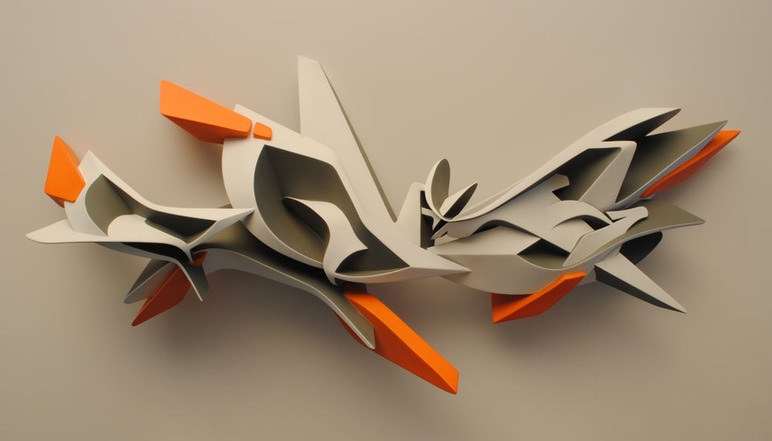
Peeta is a graffiti writer, sculptor and painter from Venice, Italy.
His concept:
"In my work, I endeavour to realize the sculptural quality of individual letters, namely the ones that spell out my own moniker Peeta. I break them from their generic typographical form, stylizing them with shape and volume beyond its mere semantic function. Thus my own lettering is brought into the fluidity of the urban, where words are continuously ruptured from their own histories, readapted into idiom and gestures learned off the street. The final result derived from the fusion between traditional lettering and three dimensional style has given life to a unique kind of visual rhythm, created by the intersecting lines between sections of conic, cylindrical and twisting surfaces. The role of sculpture comes to be essential for this purpose. It represents for me a direct contact with three-dimensionality in order to understand the rules of light and shadows and to reproduce them." - Peeta
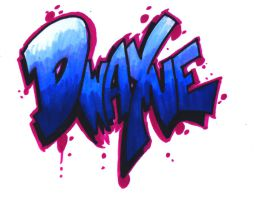
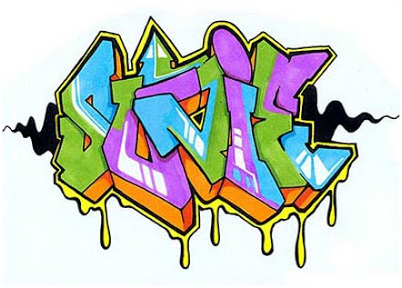
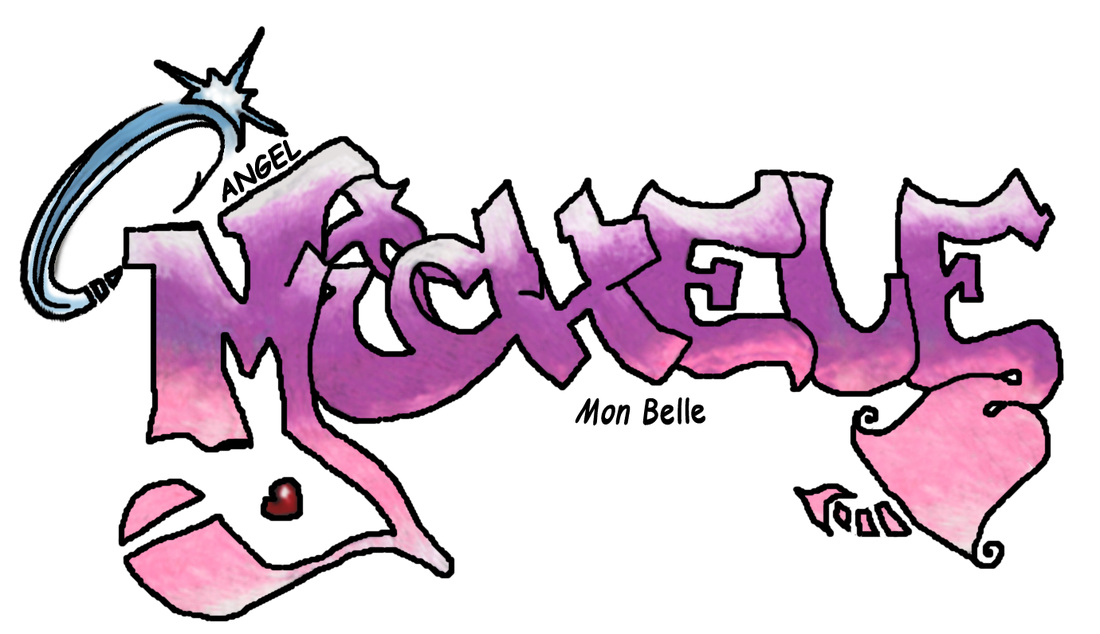
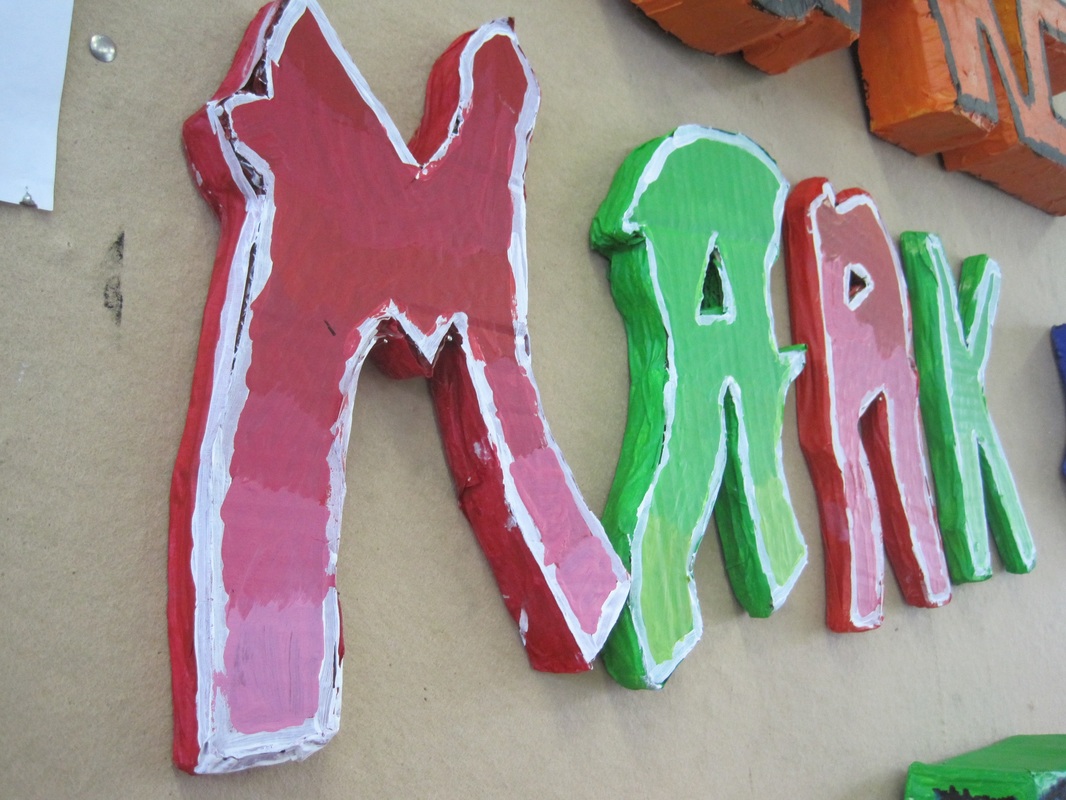
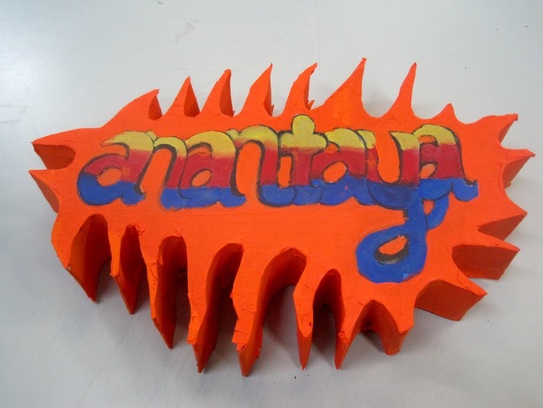
Student Examples


How Typeface are Created
Creating a typeface is a very involved process. It is a design process because it has a function. A typeface is highly structured and each typeface has it's own set of 'rules,' or characteristics.
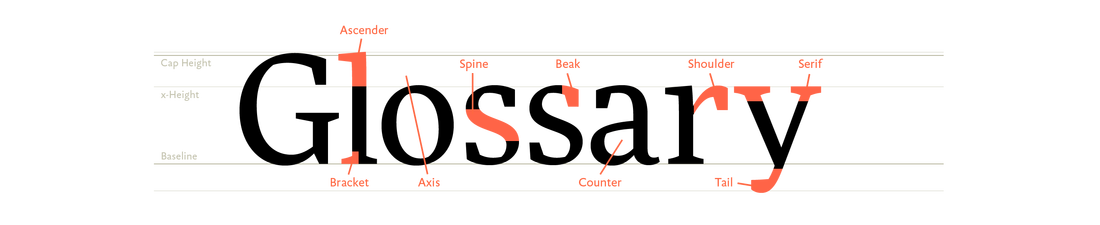
Tips for construction