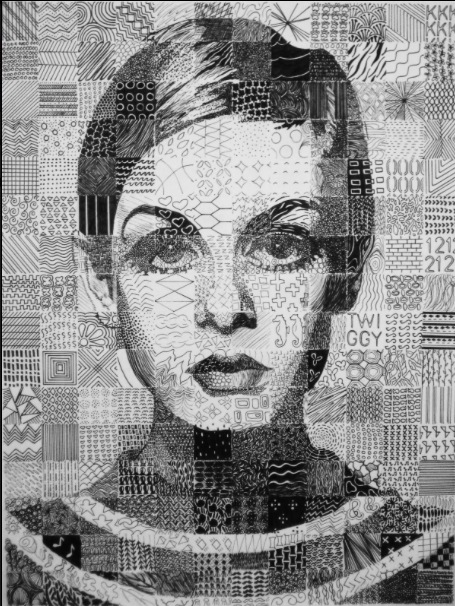
Mark Making Portrait
For this task you will need to find an image that you really like of a portrait. Use the grid technique to draw your photo onto an A3 piece of paper. These drawings can be realistic or abstracted.
1. Find a photo of a portrait and use photoshop to make it black and white. (this helps you to focus on the tone/value)
Print to A4 size.
2. Create 4-5 thumbnail designs to layout the composition of your drawing. Annotate these to describe your design and thought process. Examples below:
1. Find a photo of a portrait and use photoshop to make it black and white. (this helps you to focus on the tone/value)
Print to A4 size.
2. Create 4-5 thumbnail designs to layout the composition of your drawing. Annotate these to describe your design and thought process. Examples below:
|
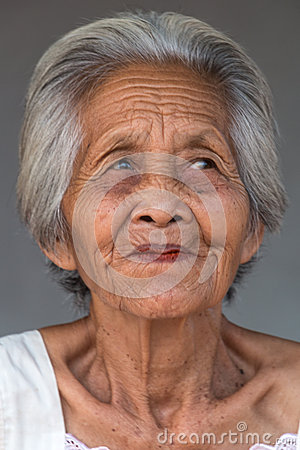
I have chosen this stock photo of an elderly woman. I want to celebrate the lines and wrinkles of her face as a stance against current social expectations for people to look 'forever young.'
|
Thumbnail Designs:
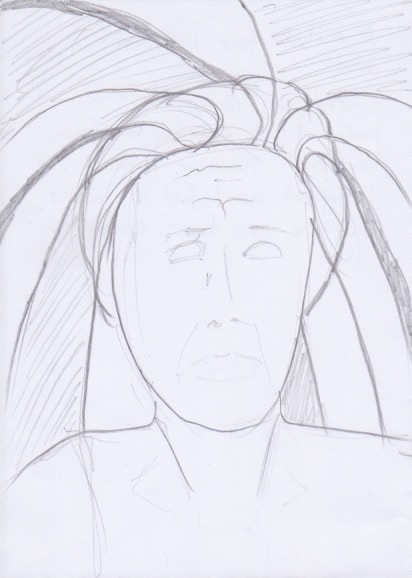
With this design I want the face to be realistic with tone and detail. I tried to create lines that radiated out, flowing on from her hair. However, I don't like this effect as I feel it lacks structure and seems confusing.
|
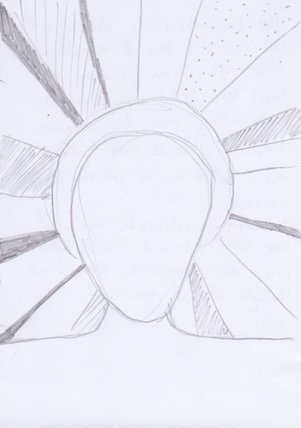
I've tried the same design with realistic face and radiating lines. This time however, the lines are bold and straight, emanating from the woman. I think this is more successful as it helps me to get my idea across. I want to celebrate age and her wrinkles. These bold, straight lines are energetic, almost as though she is glowing.
|
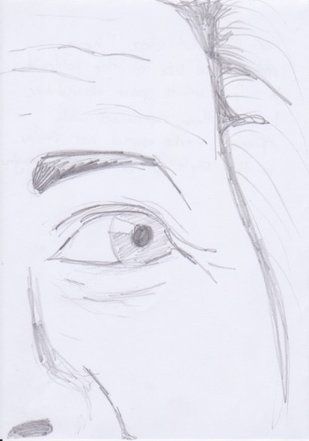
This time I have tried cropping the image to show only part of her face. This creates a dramatic narrative, focusing in on her eye and the expression of her face.
|
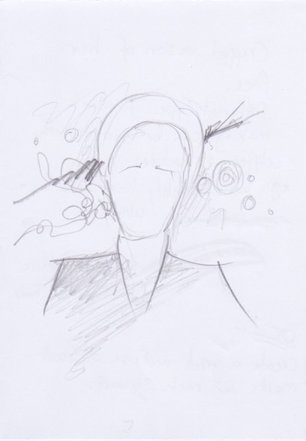
For my last idea I have reduced the size of the portrait to allow white space around her. I could then experiment with different marks around her similar to the style of Joseph Loughborough.
|
Once you have chosen a design / composition to layout your drawing you need to consider how you will apply the mark making to your drawing.
You can either, create a grid and fill each square with a different mark. This is a very structured and straight forward way to approach this task
Or, you can take inspiration from Joseph Loughborough or similar artists to create a less structured approach. I think this is the harder option as you need to consider composition as you create your marks.
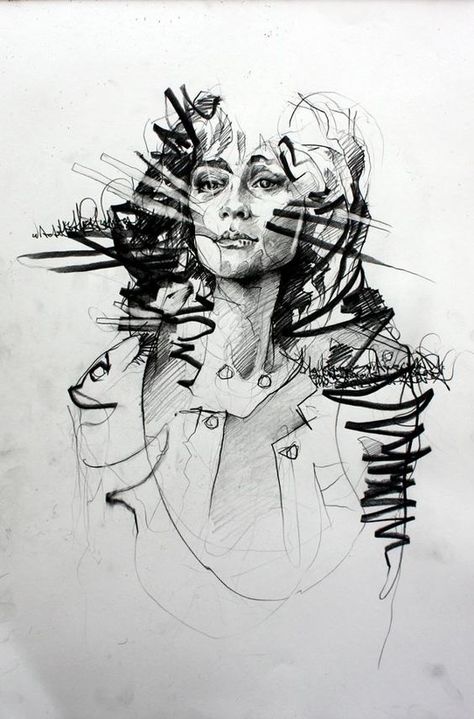
Joseph Loughborough
If you decide to go with a grid:
1. Measure a grid over the top. If your photo fills the A4 page, draw 10 x 15 squares. This equals 2cm x 2cm boxes. (you will need to adjust the amount of boxes if your photo is a different size)
2. Measure a grid over your A3 paper. Again this will be 10 x 15 squares. However this time make them 4cm x 4cm boxes. This will enlarge the image.
3. Start to draw the basic outline. Use the boxes to help you reference where the lines should go. Make sure you are paying attention to proportion and the overall image.

For everyone:
5. Continue drawing and refining the details. You may like to roughly sketch out where some of the tone will be and the dark areas ready for the next step.
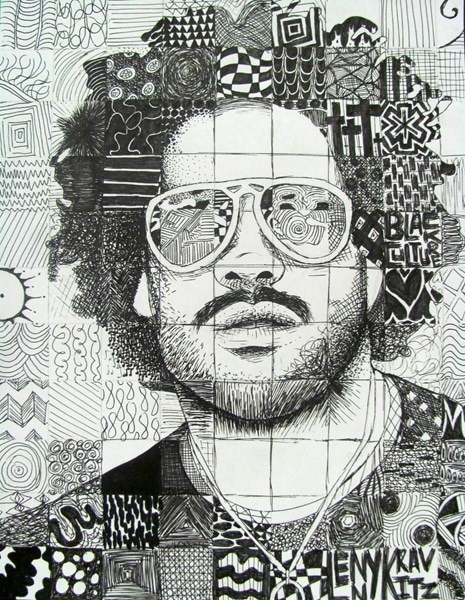
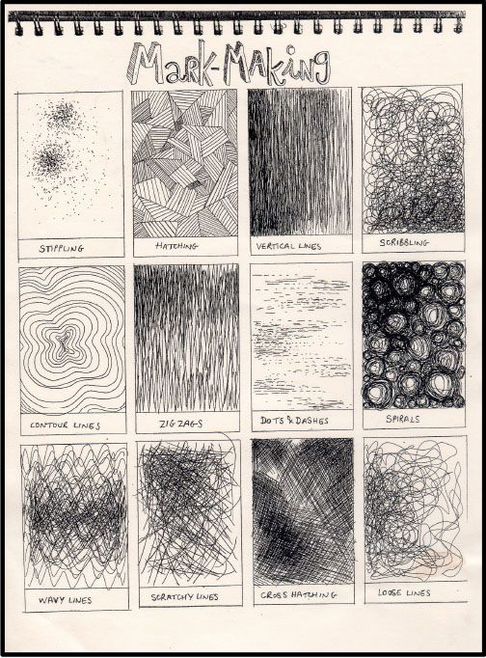
6. Fill in each square with a different type of mark making. You have 150 squares to experiment. Try some of the mark making listed below.
Note: Pay attention to the tone of the photo. Match the marks to the tone. Highlights should only have a few lines, keep them bright and light. Mid tones can have some pattern or density so that they look grey. You can create different grey tones by how close together your lines are. With the dark tones use dense lines that are close together to really help create a sense of 3D form, by making them nice and dark.
5. Continue drawing and refining the details. You may like to roughly sketch out where some of the tone will be and the dark areas ready for the next step.
6. Fill in each square with a different type of mark making. You have 150 squares to experiment. Try some of the mark making listed below.
Note: Pay attention to the tone of the photo. Match the marks to the tone. Highlights should only have a few lines, keep them bright and light. Mid tones can have some pattern or density so that they look grey. You can create different grey tones by how close together your lines are. With the dark tones use dense lines that are close together to really help create a sense of 3D form, by making them nice and dark.
|
|
|
|
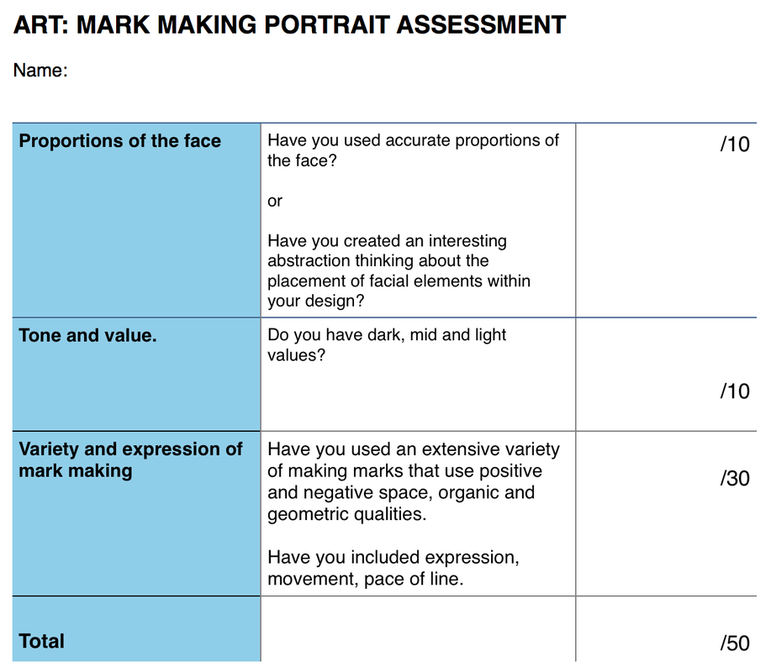
Compulsory criteria:
- 4-5 thumbnail designs
- An A3 finished drawing that uses a wide variety of mark making techniques. Optimally, as many different ways of creating lines and marks as possible.
- The addition of tone in the drawing using the mark making method.