Photoshop
Photoshop is an industry standard product made by Adobe. This means that Photoshop and other Adobe products that we use in Art and Design are used by professionals as the standard product. Their are other products around that are less know, one product that is similar, but free is Affinity Design.
The following tasks aim at introducing you to some of Photoshop's tools, including:
The following tasks aim at introducing you to some of Photoshop's tools, including:
- opening a photo file
- layers
- the many selection tools
- filters
Low Poly
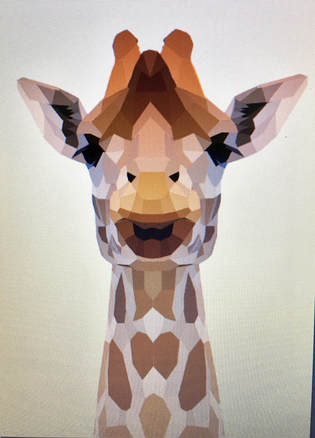
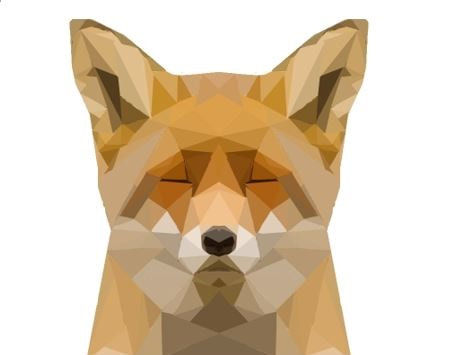
With this task you learn how to take a photo from the internet and turn it into an abstracted image made of many shapes. The people who experience success with this task tend to put effort into careful placement and detail of the shapes.
Below is an example by Miss Ahrens:
Below is an example by Miss Ahrens:
|
Before
|
After
|
|
|
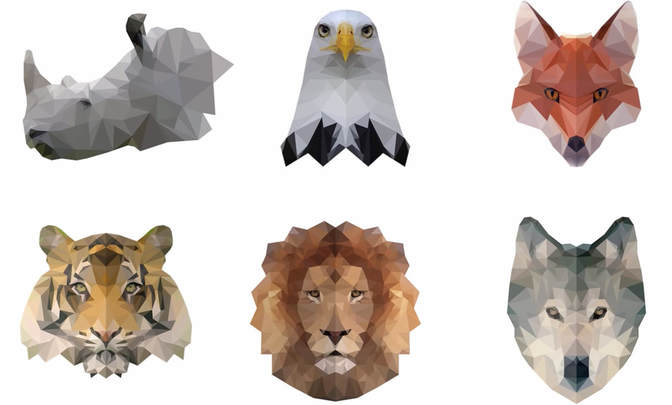
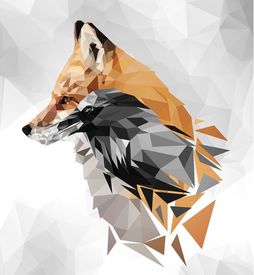
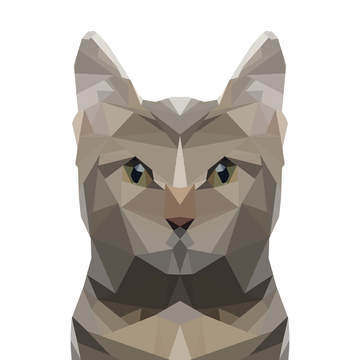
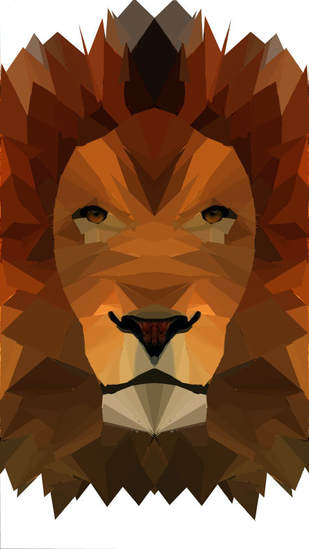
Student Examples:
|
|
Steps:
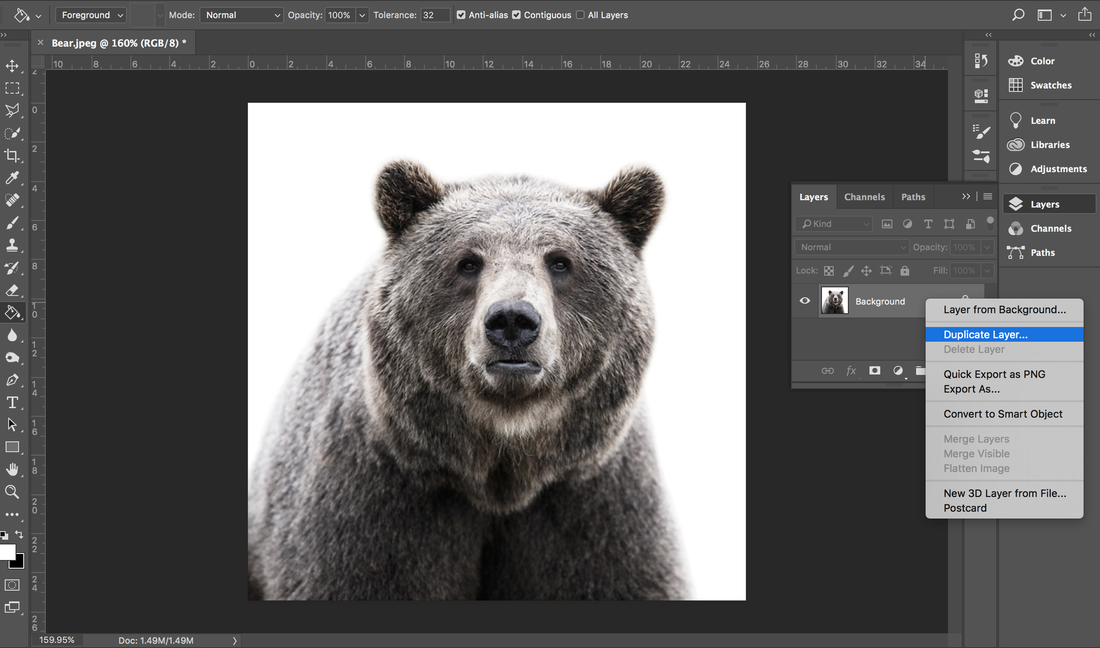
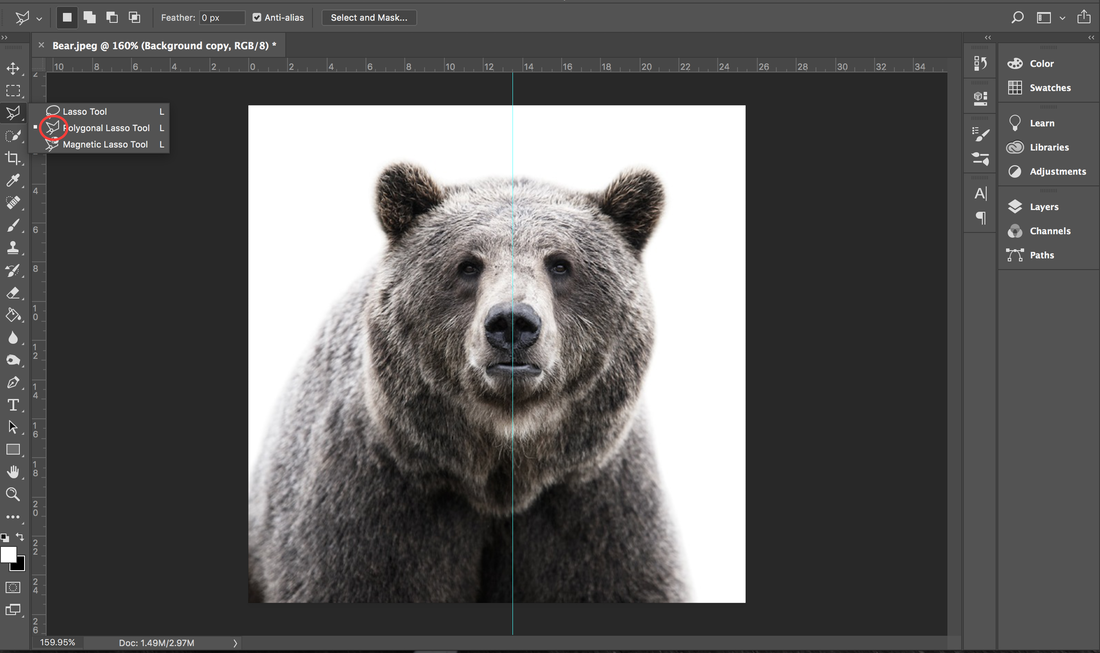
Open your image in Photoshop. File - Open
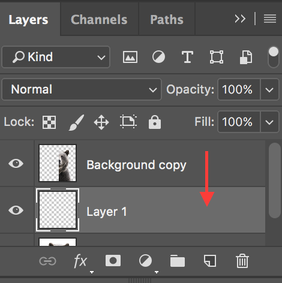
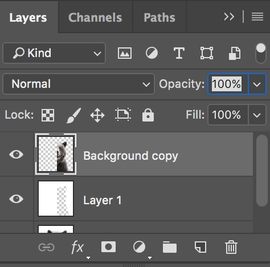
Duplicate your image in the layers panel by right clicking on the text of your animals layer.
Duplicate your image in the layers panel by right clicking on the text of your animals layer.
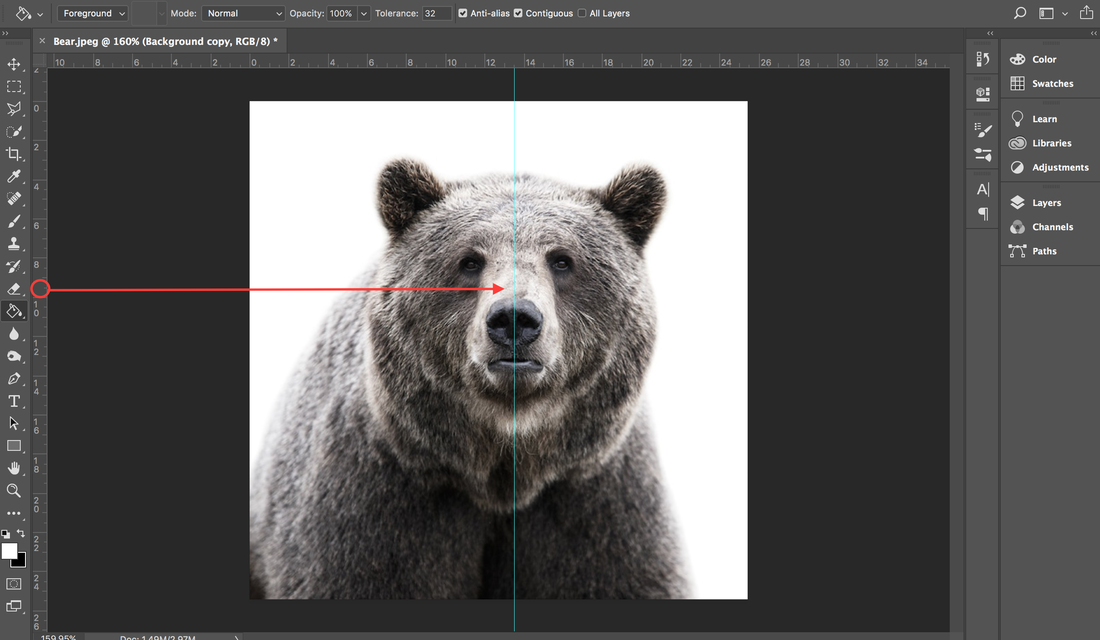
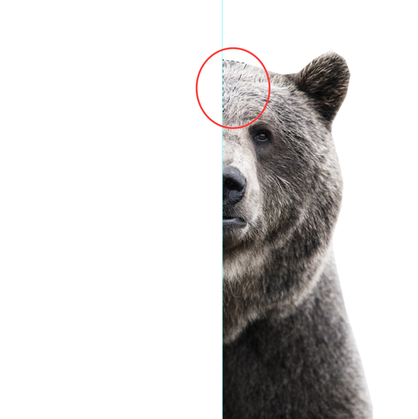
Click on the ruler to the left of your art board and drag a guide to the middle of the animal's face.
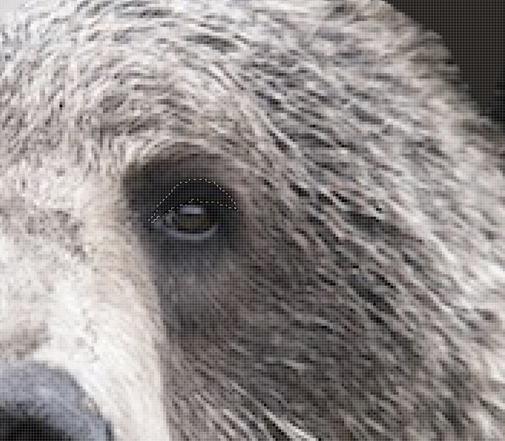
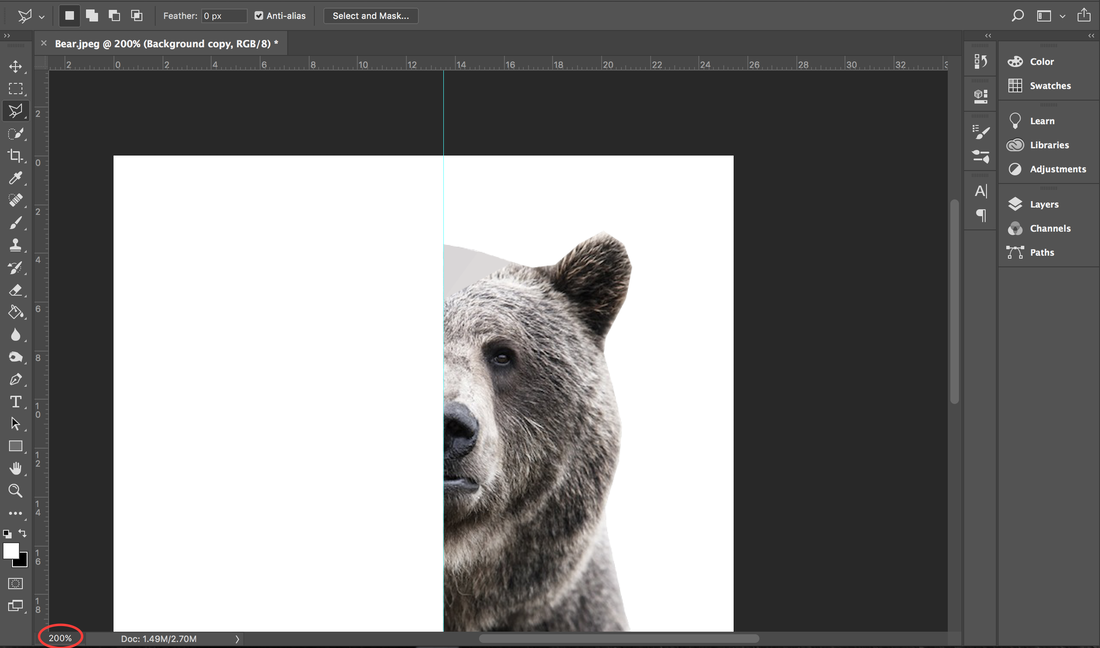
Use the polygonal lasso tool found on the side menu to cut out the background and the unneeded half of the face. Use your ruler as a guide to cut the face in half in a straight line.
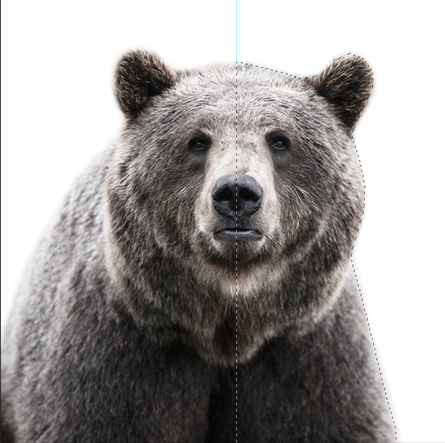
With the polygon tool click on the guide and trace a straight line up. Then click around the outline of the animal until you return to your starting point. A small o will appear when you hover over your starting point and this will 'close' the selection. A dotted line will appear when done like below.
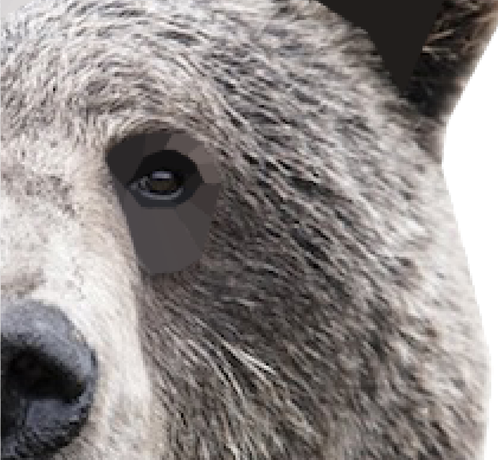
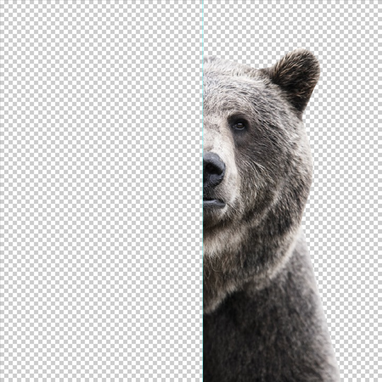
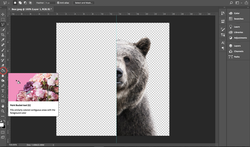
Go to the very top menu and go to 'Select' then 'inverse.' This will swap your selection from the animals face to the background around it. Press 'Delete' on your keyboard to remove this part of the image. You will want to see this checkered background meaning there is nothing there. If it is a colour, you probably didn't duplicate your original image before starting.
Press on the 'new layer' icon in the layers panel.
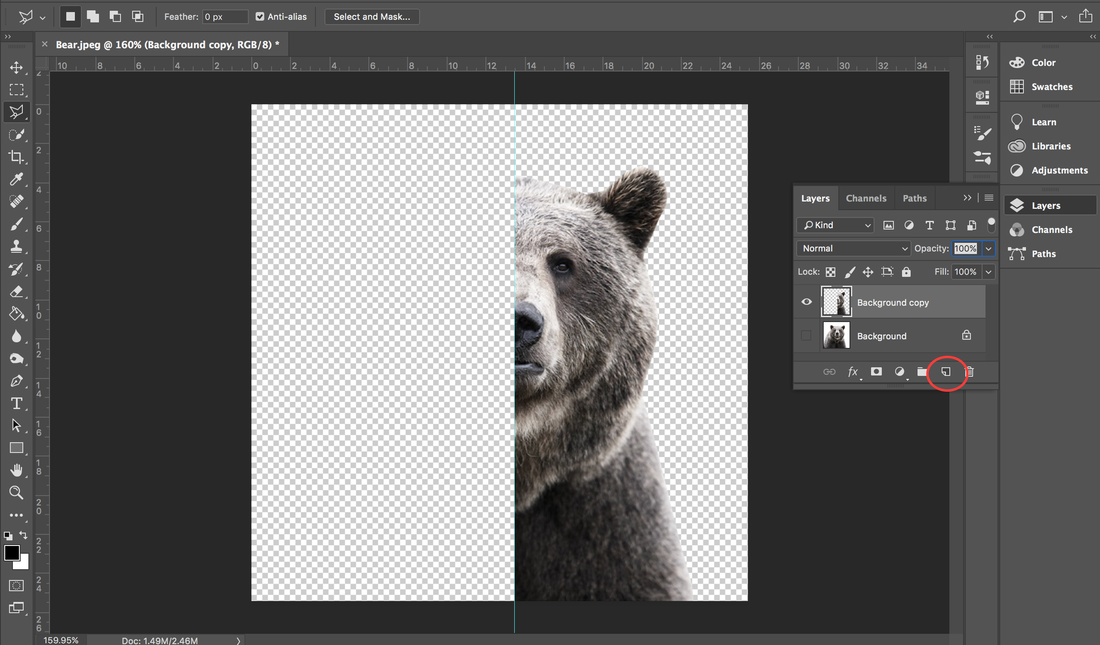
Drag the new layer underneath your animal layer.
Use the paint bucket tool to fill in your new layer.
Select what colour you want here:
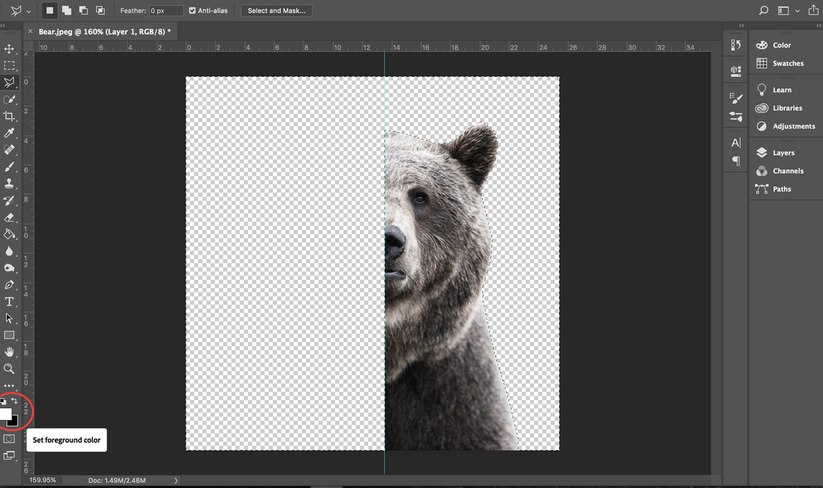
If you click on the top square a pop up menu will appear. You can choose a colour by clicking on the rainbow slide and then selecting what value of this colour you want on the large coloured area. Click OK. Then click on your background - make sure the right layer is selected!
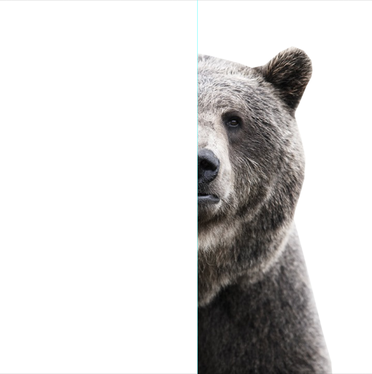
Your image is set up and ready to start making the shapes!
Make sure you now have the animal layer selected before you begin the next part.
Make sure you now have the animal layer selected before you begin the next part.
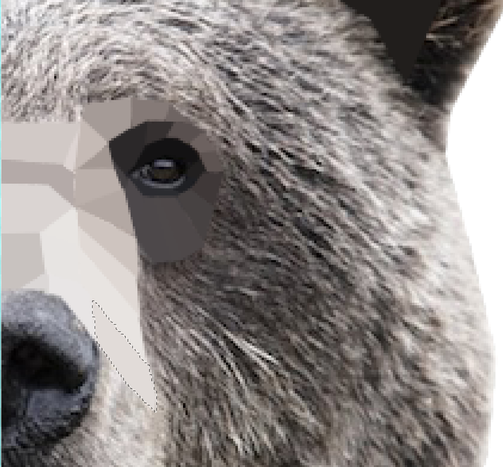
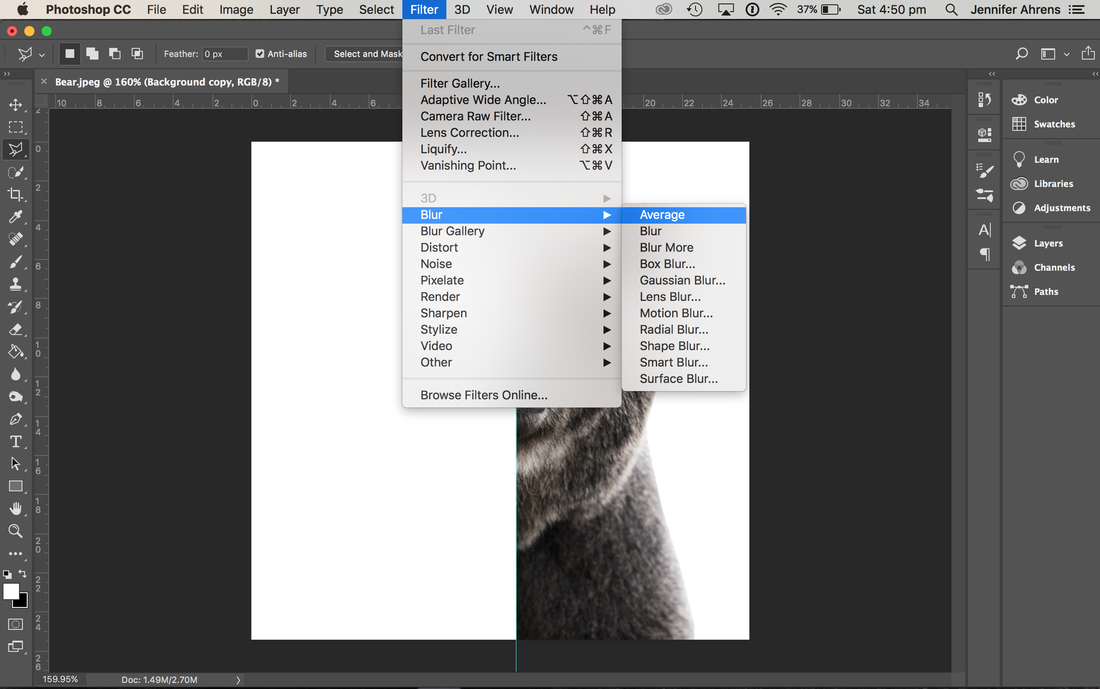
Using the polygonal lasso selection tool again create a triangle on your animal.
Then go to the top menu and go to Filter - Blur - Average
This will average all the colours with your selection.
This will average all the colours with your selection.
Create another shape, lining up your cursor as closely as possible to the previous shape to prevent gaps.
This time use the keyboard shortcut 'control + F' for PC and 'control + command + F' for a Mac.
This time use the keyboard shortcut 'control + F' for PC and 'control + command + F' for a Mac.
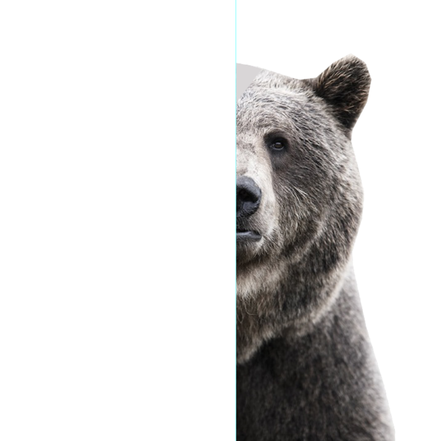
You may wish to zoom in to help you create a more accurate image.
Continue created shapes and using the shortcut to make the simplified shapes.
Tips:
Tips:
- Try to create shapes that show the form of the animal. For example, creating a series of shapes to show the noses overall shape rather than making random shapes all over.
- Since the filter is averaging the colours within the selection, try to select areas of similar colour. For example if I were to create a shape that went over the nose and cheek, the nose wouldn't be defined and the colour would be a mid grey/brown instead of having the nice contrast of the whiter nose and the browner cheek fur.
- Time and patience will be needed for a nice result