Space using Perspective
When drawing using perspective methods you are creating the illusion of depth on a two dimensional surface such as paper.
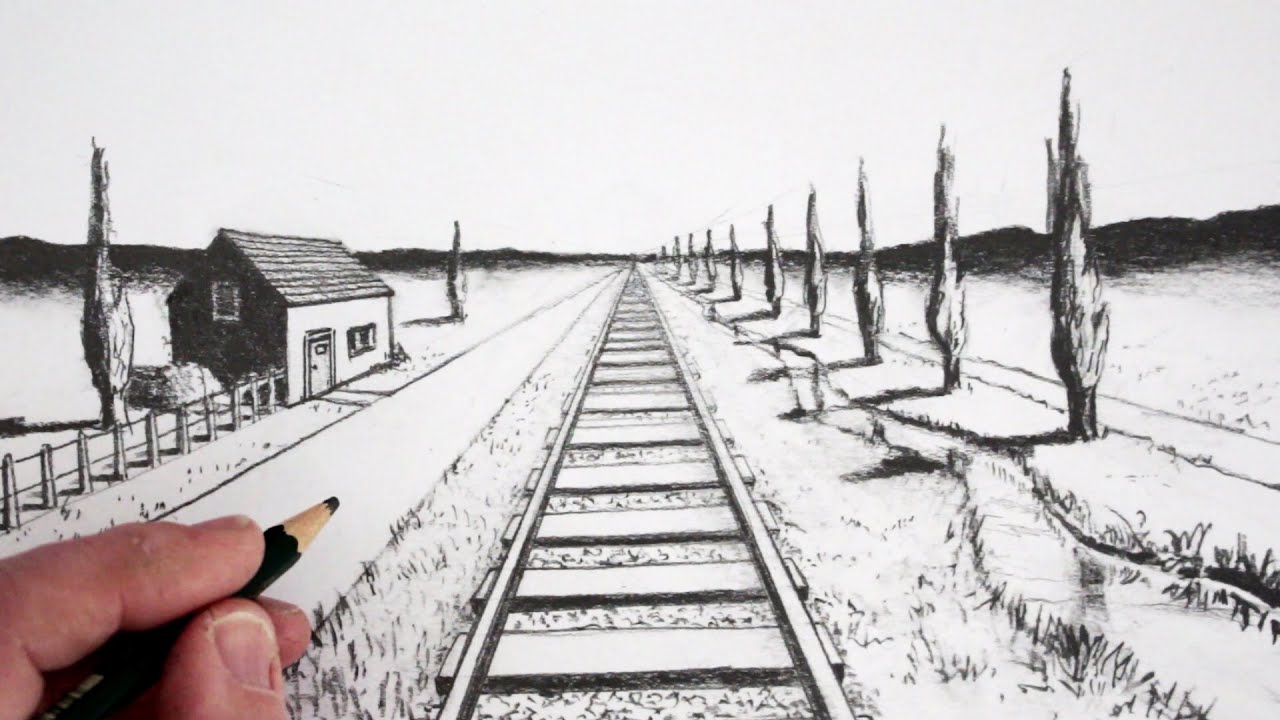
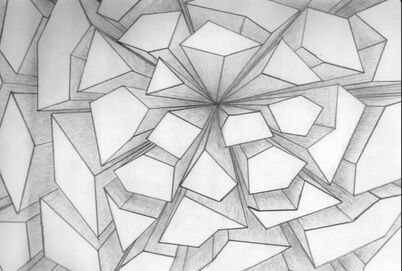
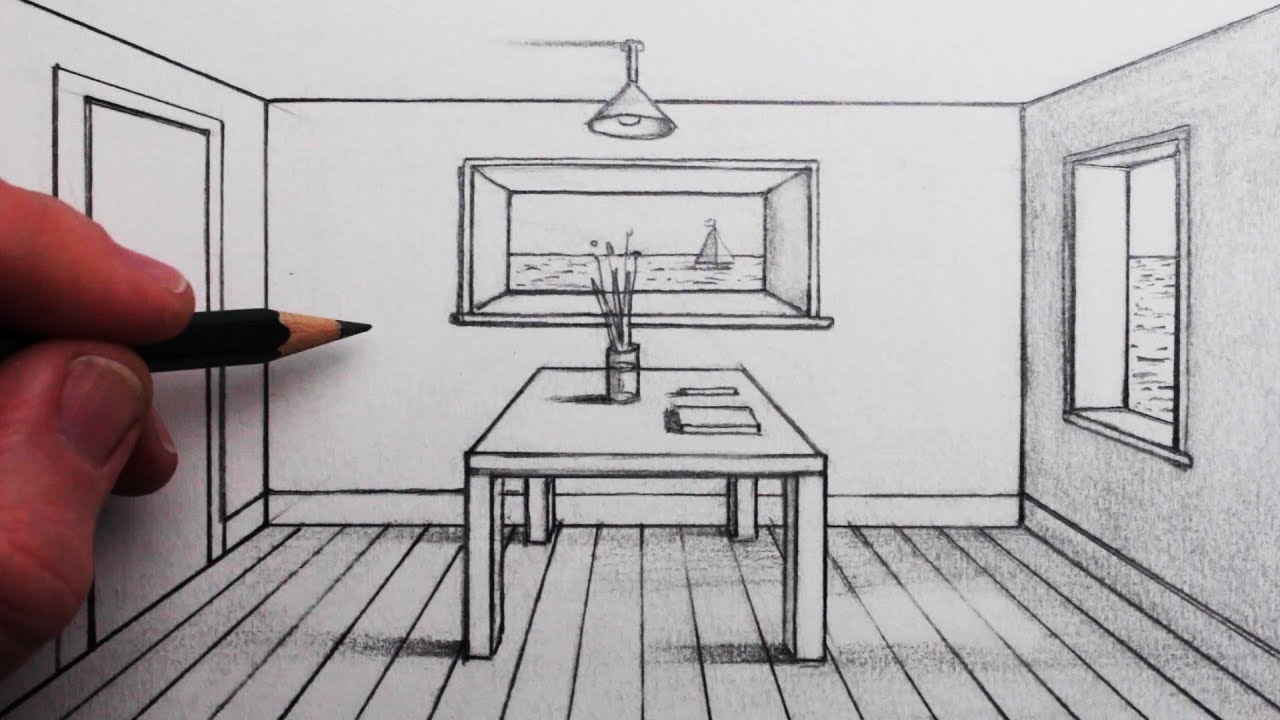
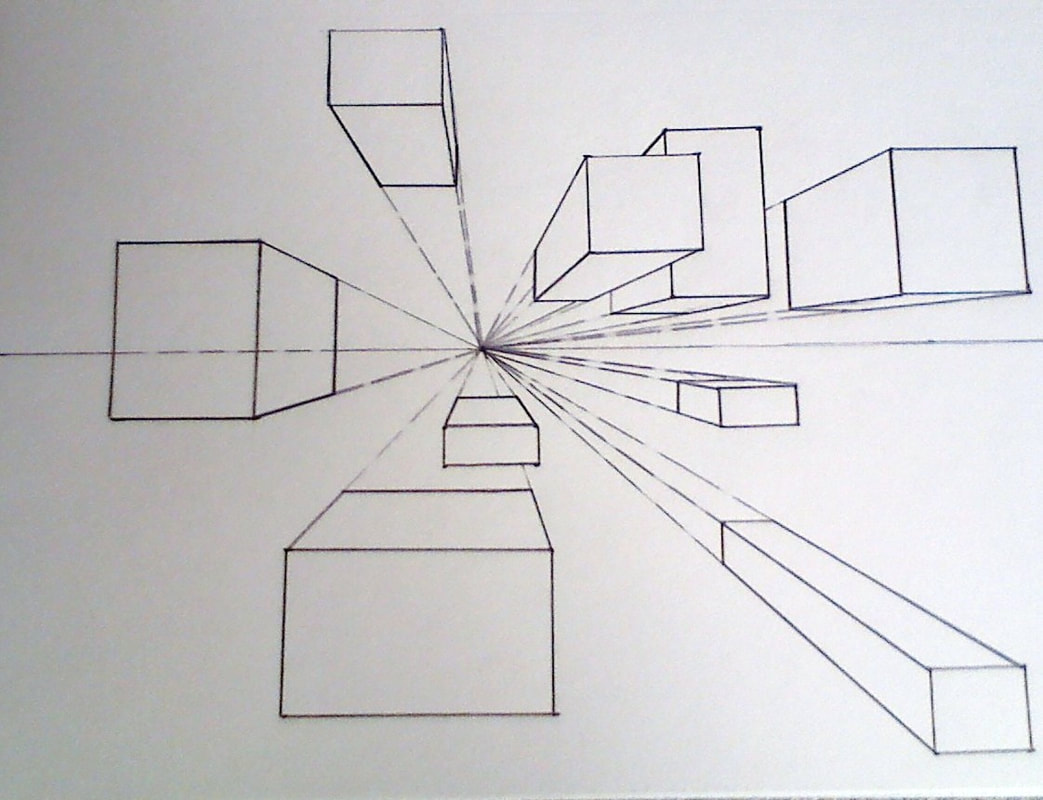
By practising drawing in perspective you will be able to create more realistic drawings, below are some examples of the type of work that can be achieved with one point perspective.
By practising drawing in perspective you will be able to create more realistic drawings, below are some examples of the type of work that can be achieved with one point perspective.
|
|
|

|
If you miss class or need the instructions repeated watch the video below.
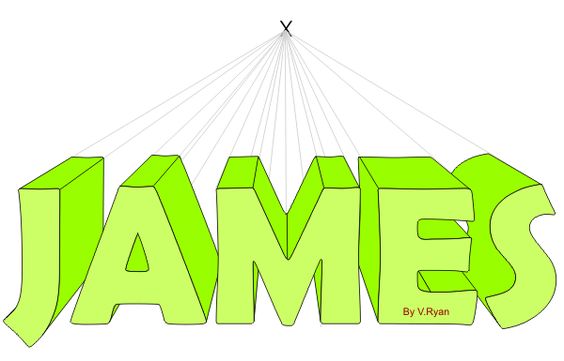
Your task will be to write your name in 3D letters using one point perspective.
Perspective always starts the same, by placing a vanishing point somewhere on your page.
This is the point where everything in your image 'disappears' or 'vanishes' to.
Below with the name 'James' you can see that the letters are vanishing backwards towards the vanishing point.
The letters themselves are draw as normal in a block text, but then lines are added to each point of all of the letters which go back towards the vanishing point.
Parallel lines to the block letters are then used to finish off the form.
Let's start with some basics first
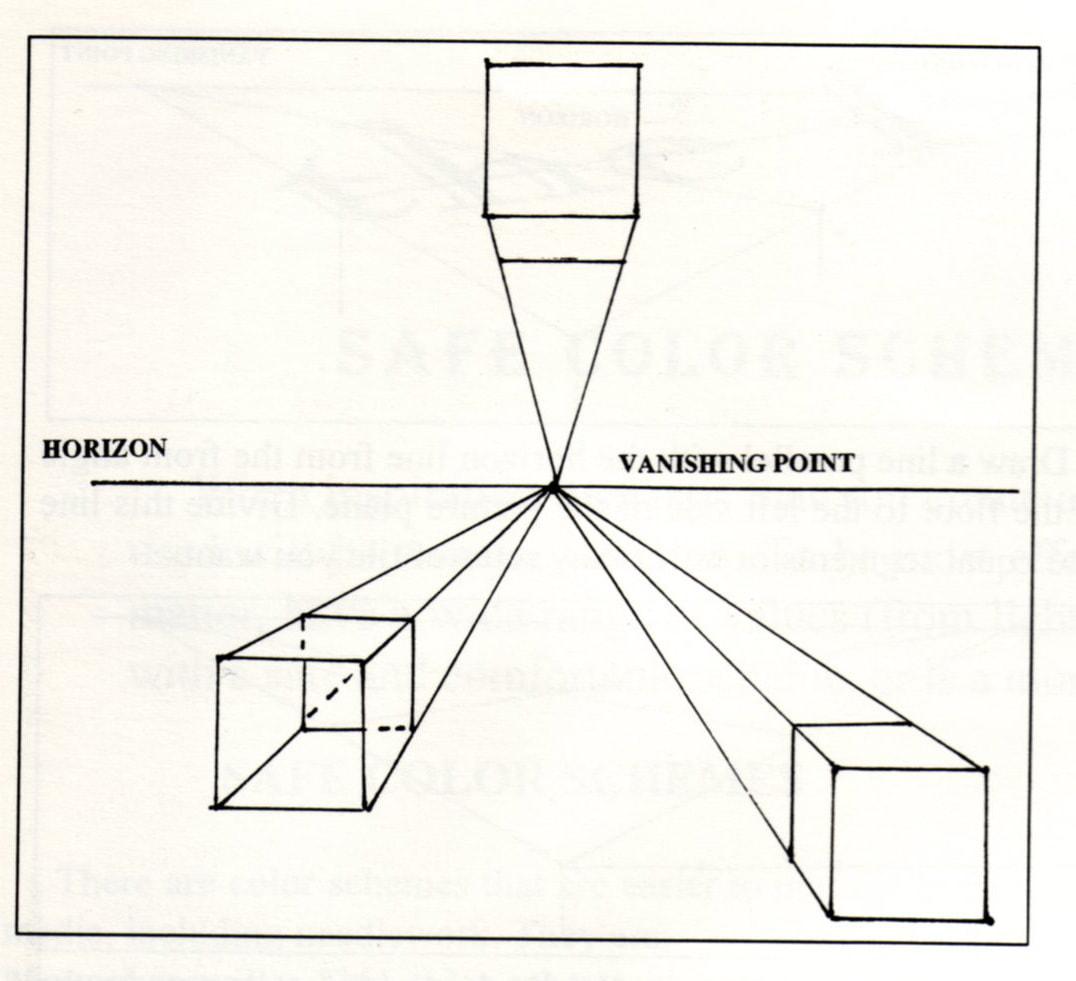
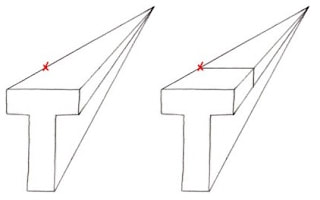
The first exercise is to draw boxes
- You will need a pencil, ruler, eraser and A4 paper
- Draw a horizon line roughly in the middle of your page (landscape format).
- Draw a small X to show the vanishing point on the middle of your horizon line
- Using a ruler, draw a square in the top centre of your page. (This begins the first box)
- Draw a line from the vanishing point to the two bottom corners of the square.
- Draw a line within these lines, parallel to the square above.
This creates perspective for a box that is straight in front of you from above. - Draw other boxes in different places
|
|
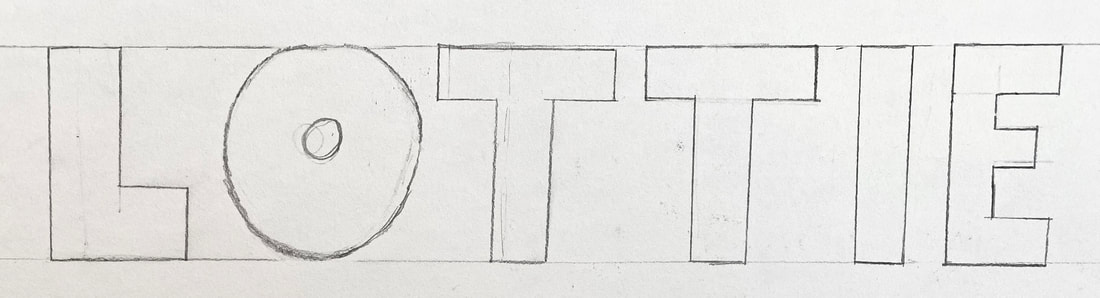
The second exercise is to draw letters
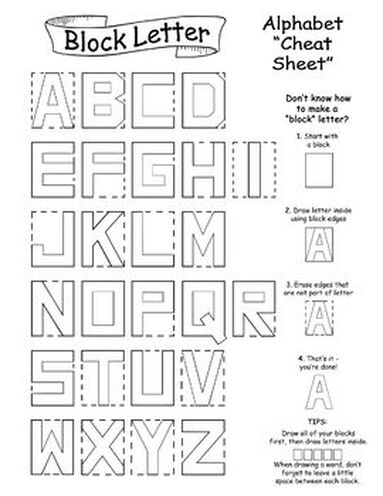
Practise drawing a few letters using the worksheet below
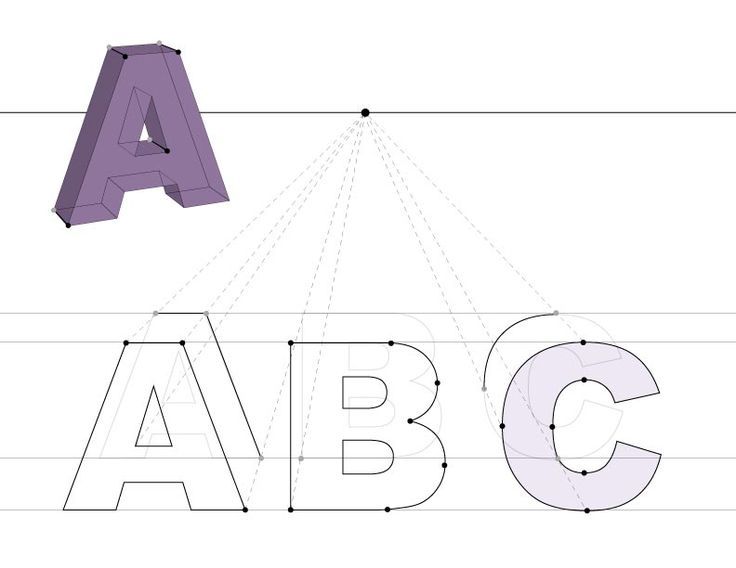
The third exercise is to write your name in one point perspective
The create your own letters using grid paper or trace the letters of your name using a block letter alphabet.
Work on A3 paper
Write your name at the top of the page, leaving about 5cm of space at the top
Make sure to leave some space between each letter for the next step.
Your name should look something like this:
The next step is to place a small X at the bottom, centre of the page.
For this stage make sure to draw it light until you get it right!
Start with the first letter you have drawn
On each corner of the letter draw a line using a ruler going from the corner to the vanishing point
For this stage make sure to draw it light until you get it right!
Start with the first letter you have drawn
On each corner of the letter draw a line using a ruler going from the corner to the vanishing point
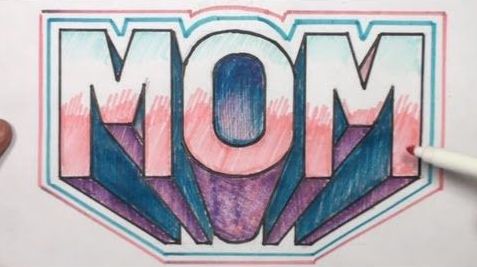
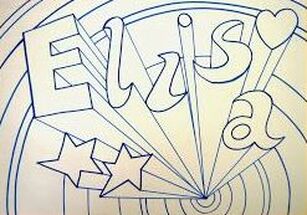
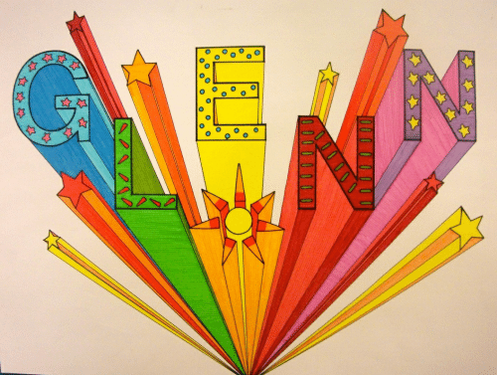
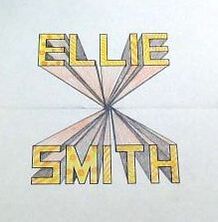
Once you have drawn your name in one point perspective, you can add other forms such as stars and love hearts. You can colour in and decorate your name in a way that shows your personality.
Here are some examples:
Here are some examples:
|
|
|
