Positive and Negative Space
Positive space refers to the subject or areas of interest in an artwork, such as a person's face or figure in a portrait, the objects in a still life painting, or the trees in a landscape painting. Negative space is the background or the area that surrounds the subject of the work.
Positive and negative space can form an important part of your overall composition. You can use positive and negative space to create a sense of balance and rhythm. Balance is one of the basic principles of design and refers to how well all the elements are balanced with each other.
Positive and negative space can form an important part of your overall composition. You can use positive and negative space to create a sense of balance and rhythm. Balance is one of the basic principles of design and refers to how well all the elements are balanced with each other.
Assessment Task:
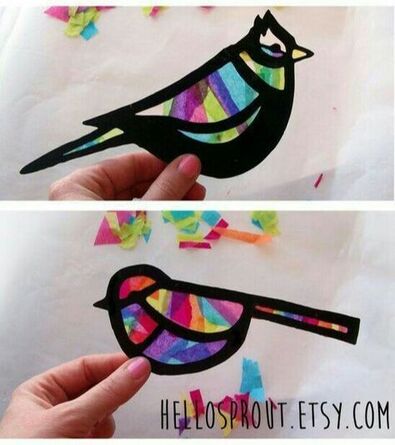
You will need to create your own positive and negative space artwork to go on top of the shape artwork you just created. This will create a 'stained glass window' effect.
You will need to create your own positive and negative space artwork to go on top of the shape artwork you just created. This will create a 'stained glass window' effect.
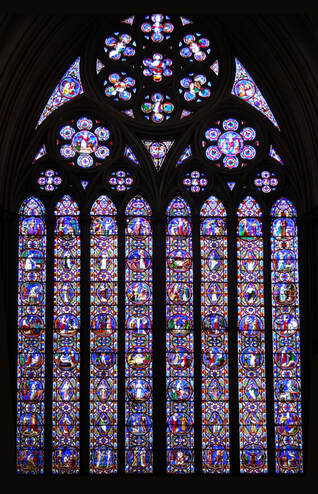
Ward and Nixon, 13th-century east window of Lincoln Cathedral, 1855
What you create is free choice, so long as it is school appropriate. You could look at stained glass windows for inspiration or create a design that you can give to someone as a gift.
You will be using black paper and a laser cutter. This means that your design can be complex if you wish as you do not need to sit and cut out each piece.
However, you will need to pay attention to the positive and negative shapes created as your piece can fall apart if all of your black areas are not connected.
Assessment criteria:
Steps:
You will be using black paper and a laser cutter. This means that your design can be complex if you wish as you do not need to sit and cut out each piece.
However, you will need to pay attention to the positive and negative shapes created as your piece can fall apart if all of your black areas are not connected.
Assessment criteria:
- Consider both the positive and negative space
- Creativity in choice of subject and how you bring the two artworks together
Steps:
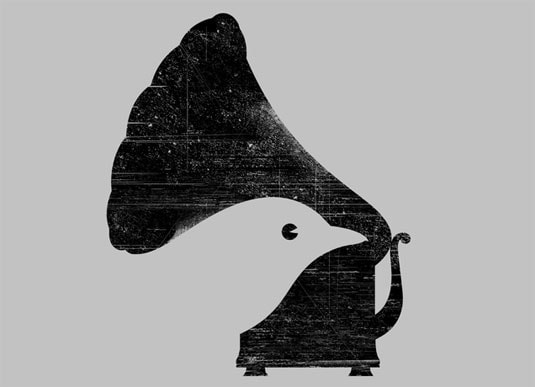
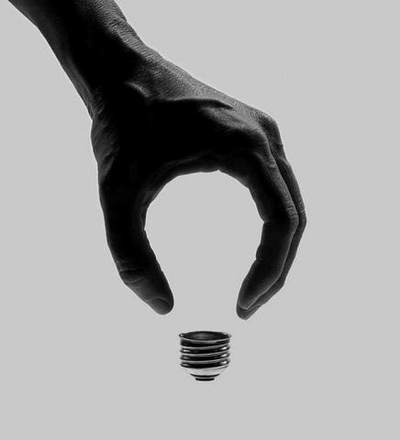
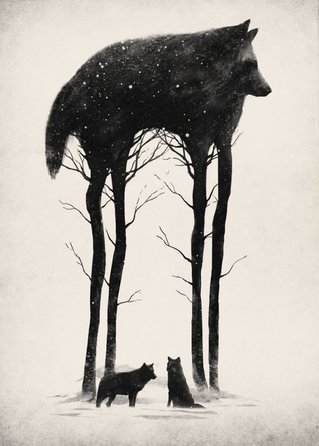
- Generate an idea. Consider what you have seen so far, positive and negative space can be very striking and bold, you can also create optical illusions or you could be inspired by cathedral windows.
- How can you best show your creativity?
- On A4 paper draw your design.
- When you are happy with your design, use a felt tip to make sure all the lines are neat, thin, dark and meet up properly without any gaps.
- Hand in your work and I will scan your drawing

|
|
The steps needed to create your positive and negative artwork
|
|
|
|
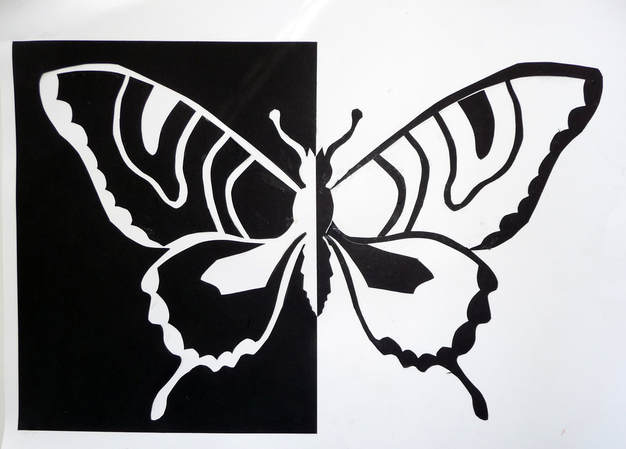
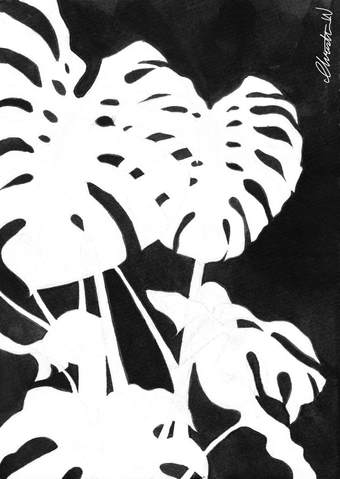
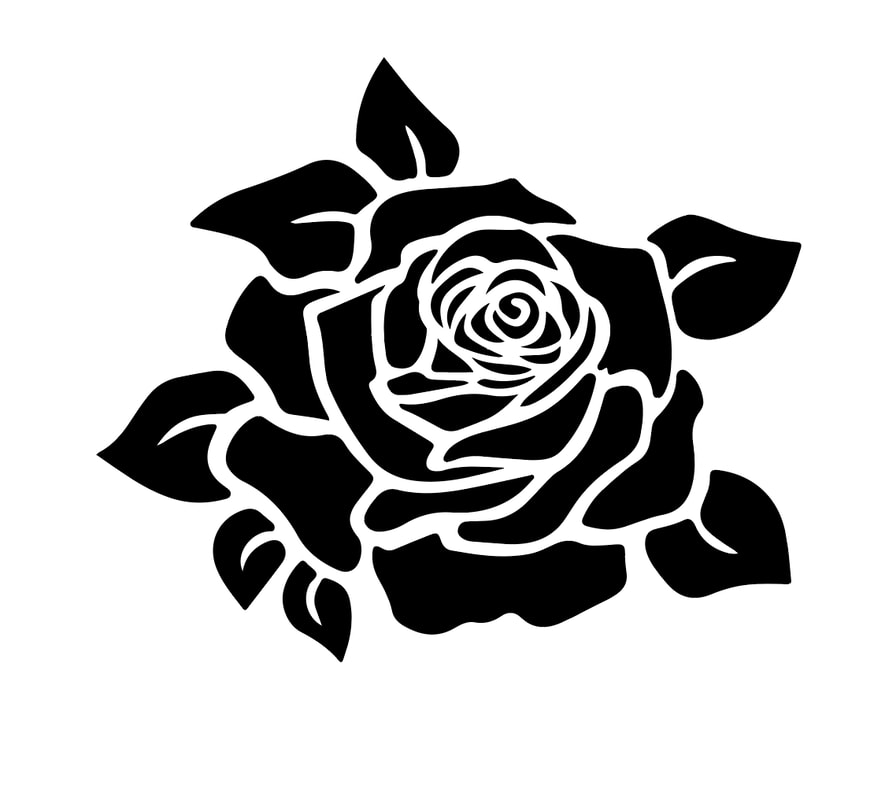
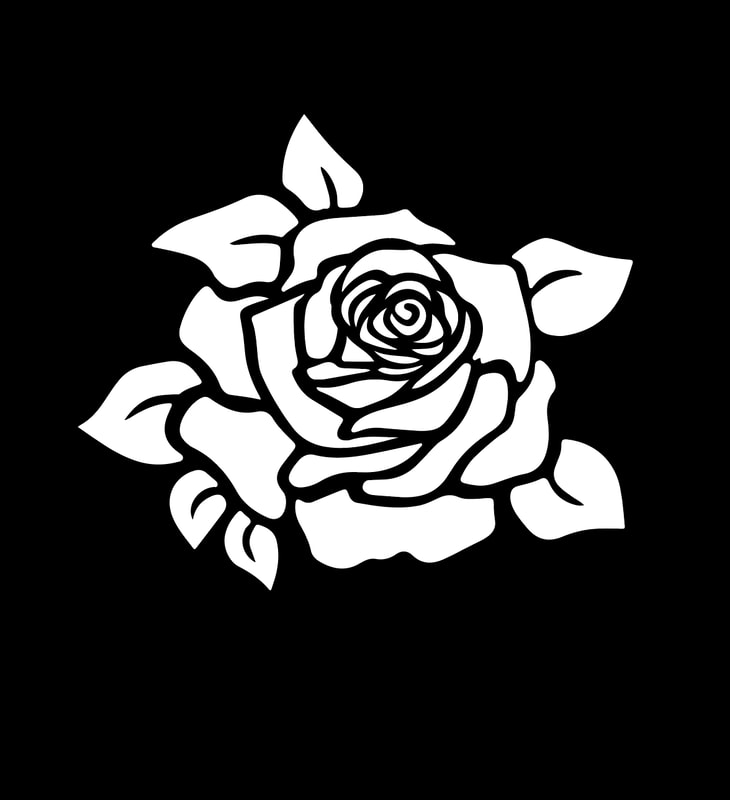
The positive space design
|
The negative space design
|
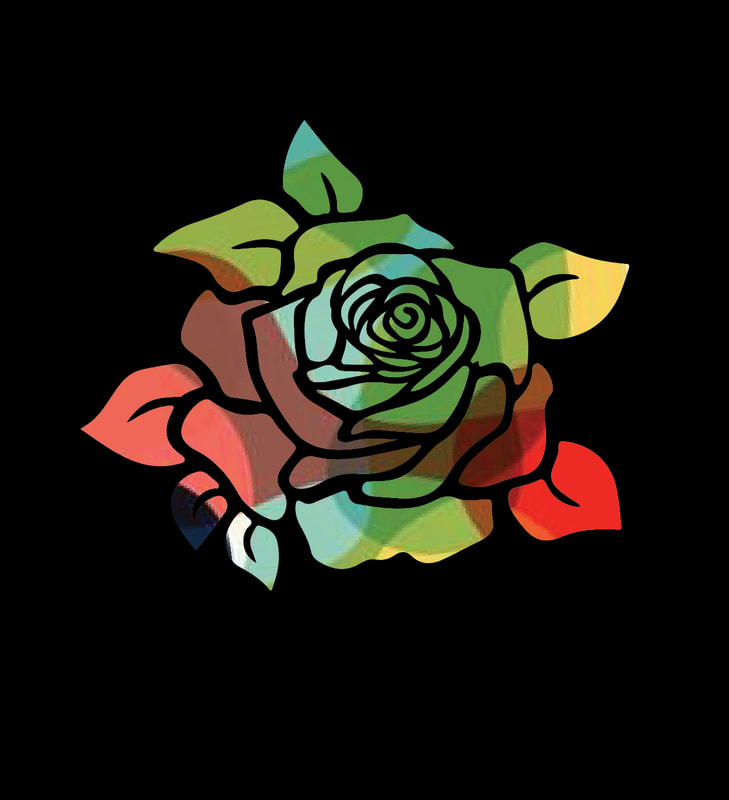
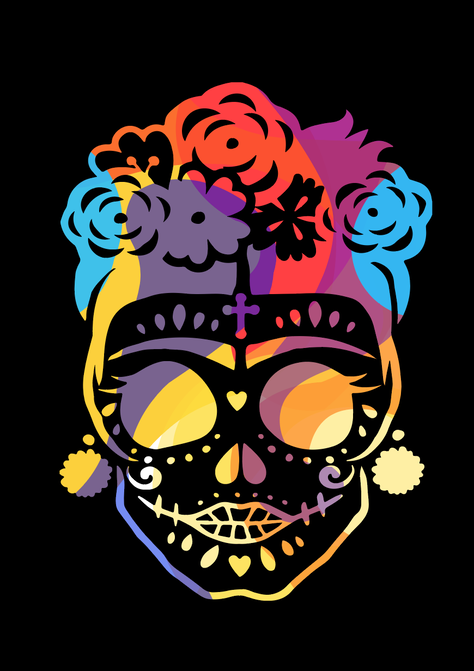
The design with an abstract artwork behind it
|
Steps Continued:
- Duplicate your Abstract Art.ai file
- Change the name of the copy to 'Positive and Negative Artwork'
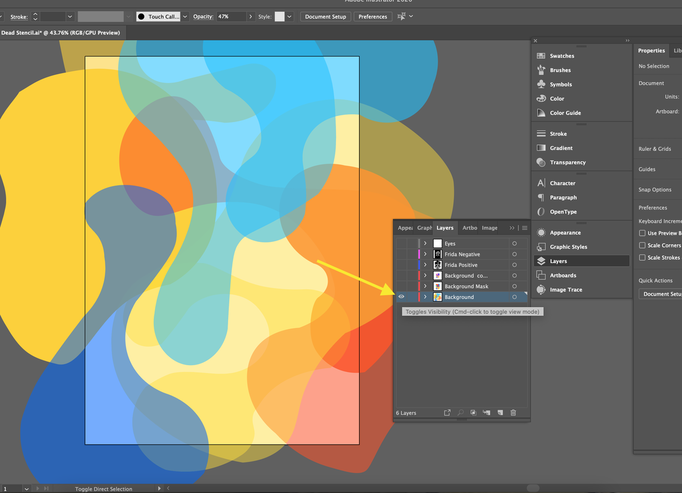
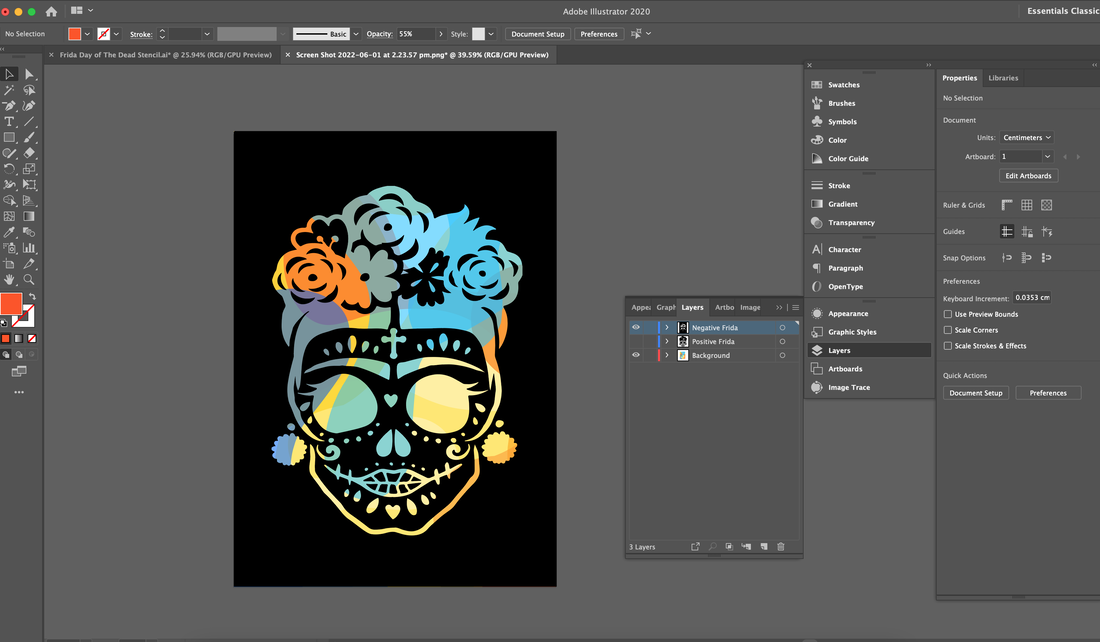
- In the layers panel, hide your abstract artwork by clicking on the little 'eye' icon
- Insert your drawing by going 'File' - 'Place' and find your drawing file. Then click on the page.
- Click on the image and select 'Image Trace' from the right hand menu, select 'Silhouettes'

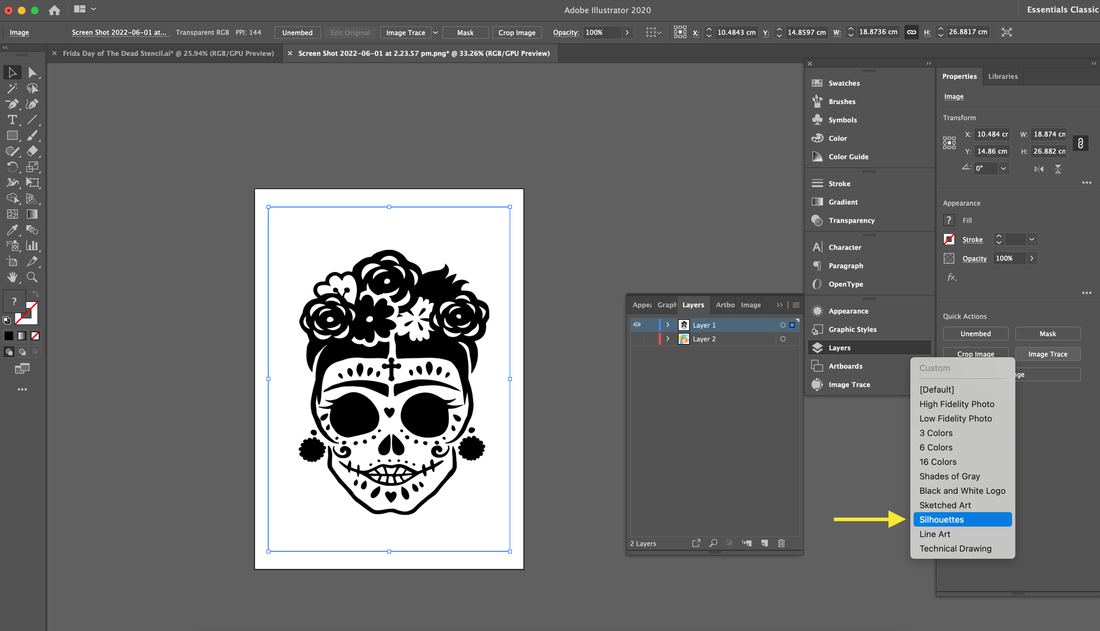
- You may need to adjust the Image Trace settings to get the image looking right. Go to the little box icon and using the slider to adjust your work.
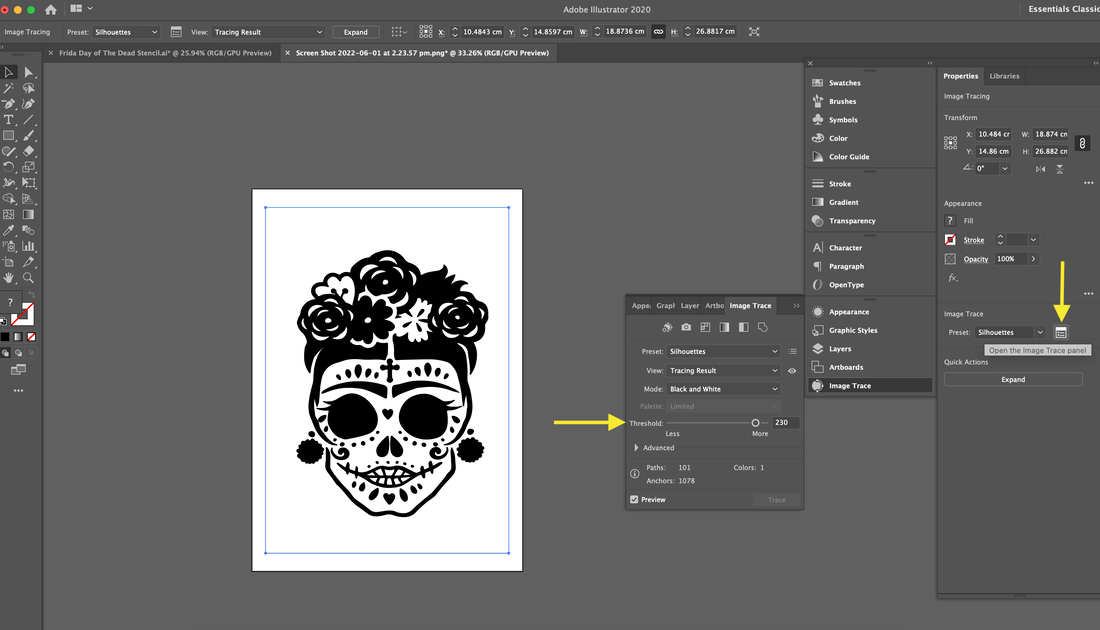
- When it looks good click 'Expand' to turn your jpeg into a vector
- Save your progress so far!
You have now turned your drawing into a vector. A vector file is needed to run the laser cutter as the laser will follow the paths you have created to cut out the paper.
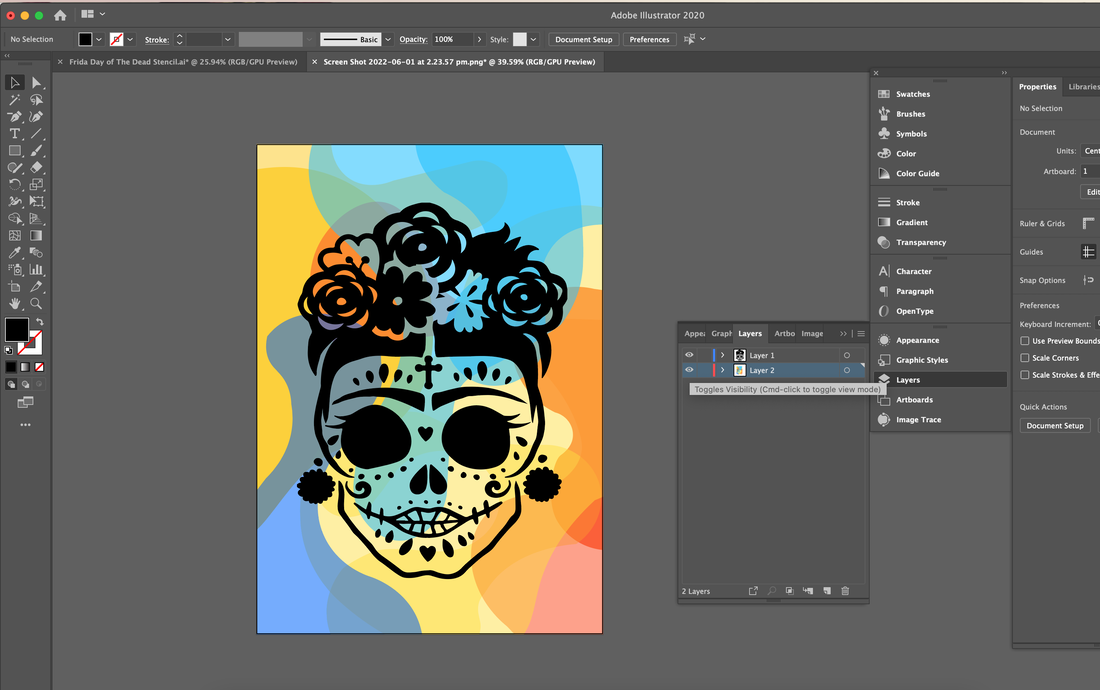
- Turn the 'Eye' icon back on to reveal your abstract artwork with your drawing
Frida is currently shown by positive space, now we will invert the image so that Frida is the negative space.
- Duplicate your drawing layer
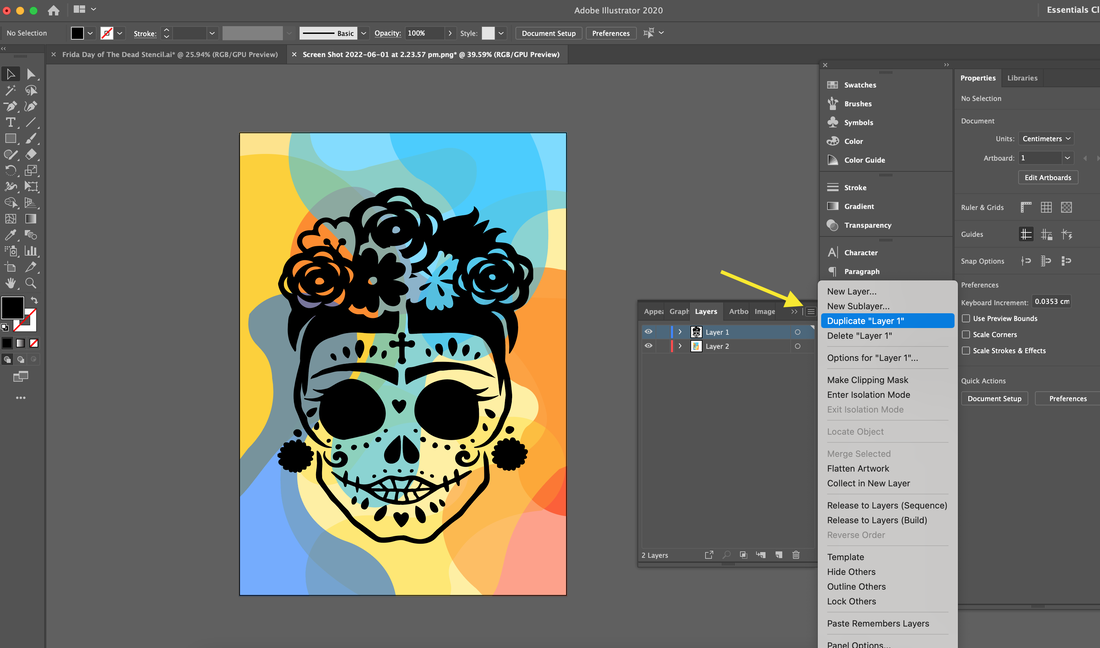
- Rename each layer:
'Negative'
'Positive'
'Background'
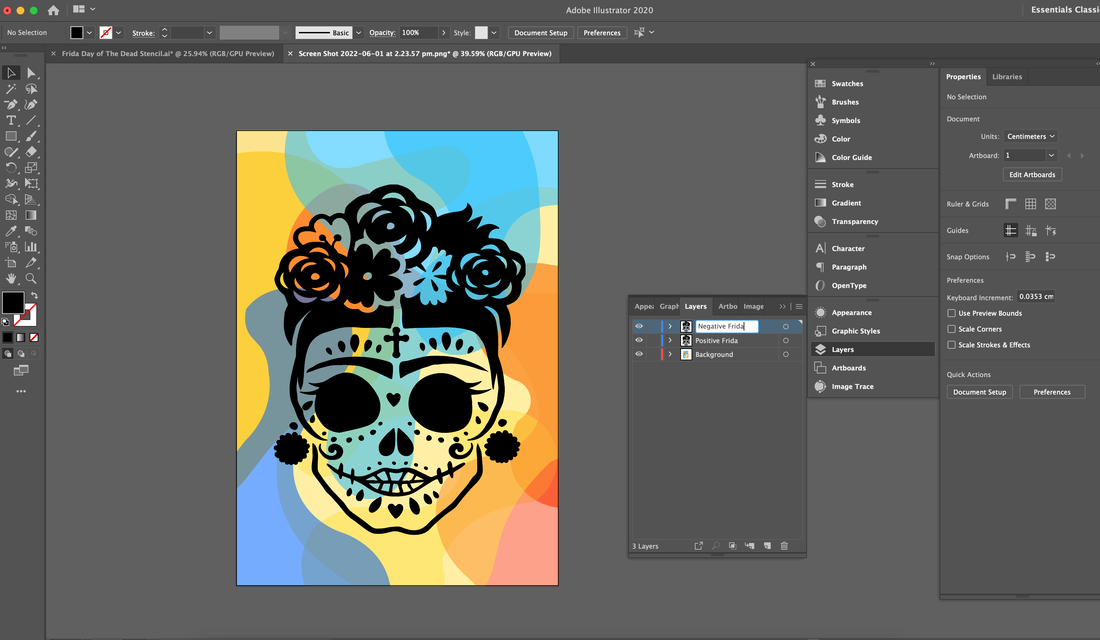
- Hide your 'Positive drawing' using the 'eye' icon
- On the 'Negative' layer, draw a black rectangle to the size of the art board
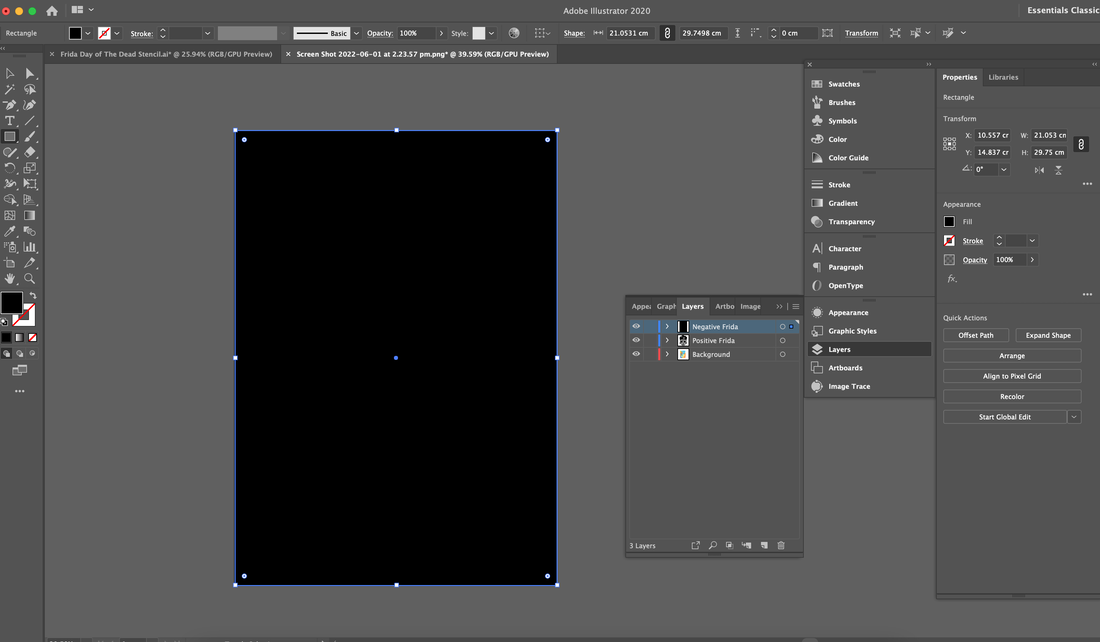
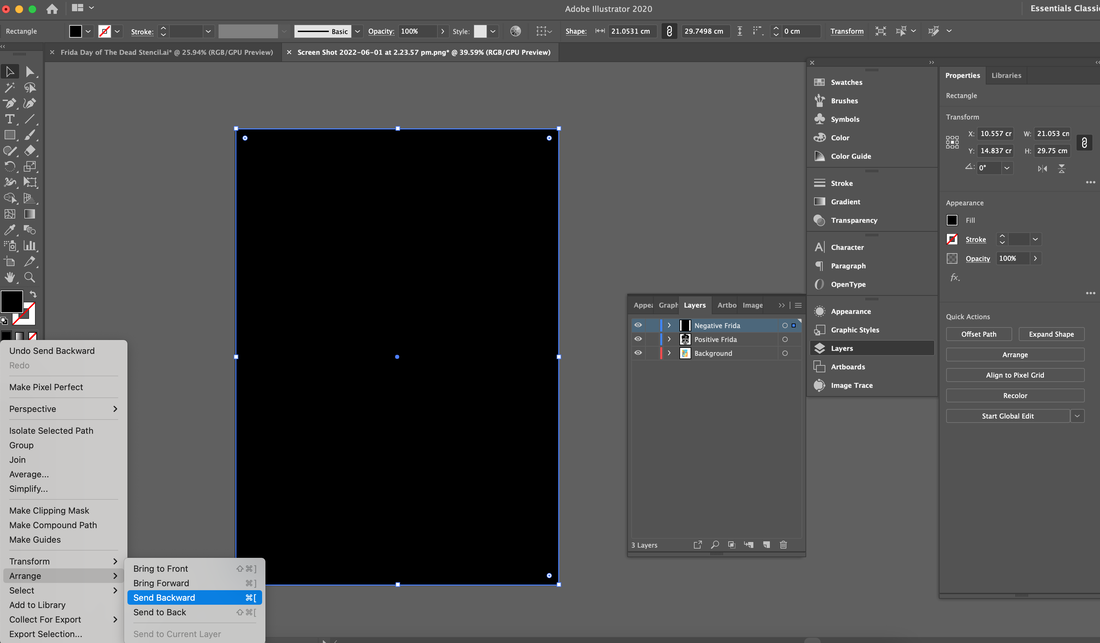
- Right click on your rectangle and select 'Arrange' - 'Send Backward'
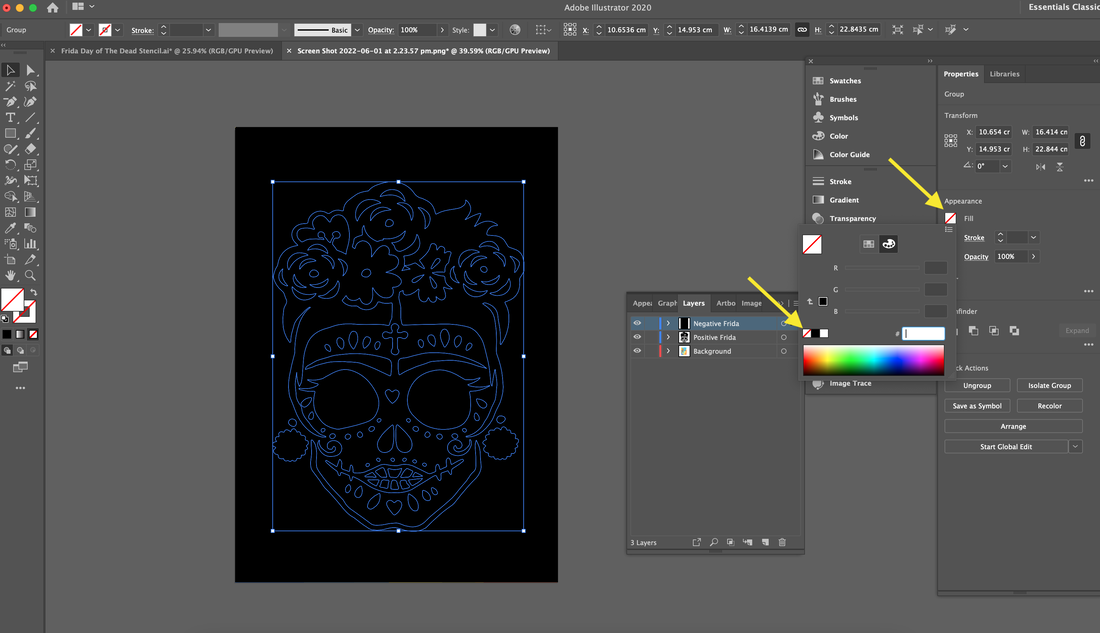
- Select your drawing and remove the fill (red dash)
- Select both the rectangle and your drawing by clicking on the drawing, holding the 'Shift' key and then clicking on your rectangle.
- The 'Pathfinder' tools will pop up, select the 'minus' option as shown below
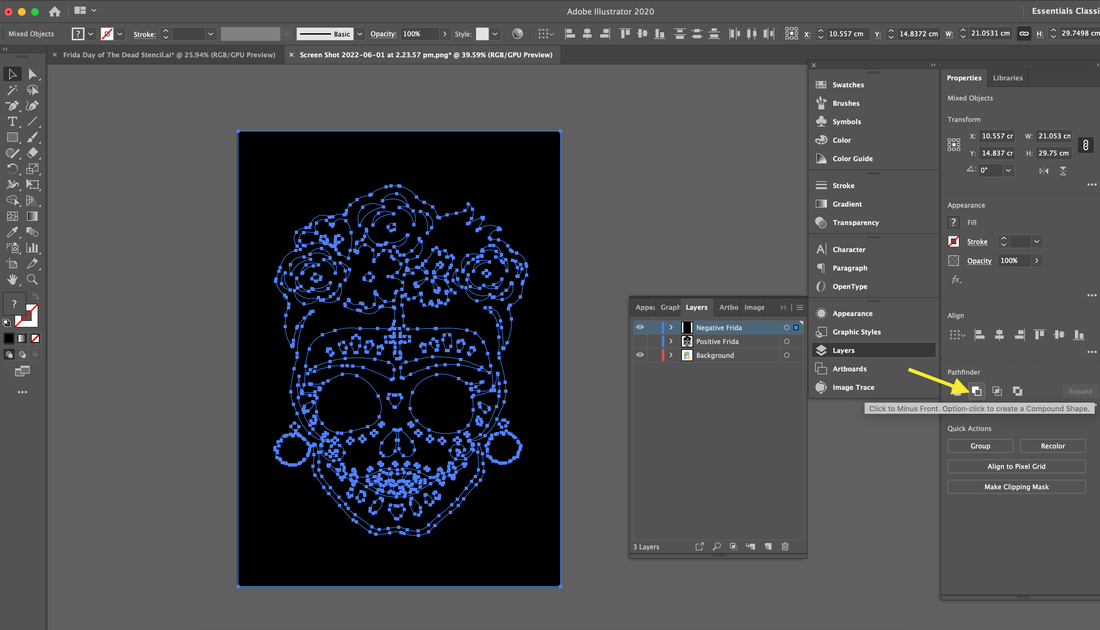
Your drawing will now be shown in the negative space
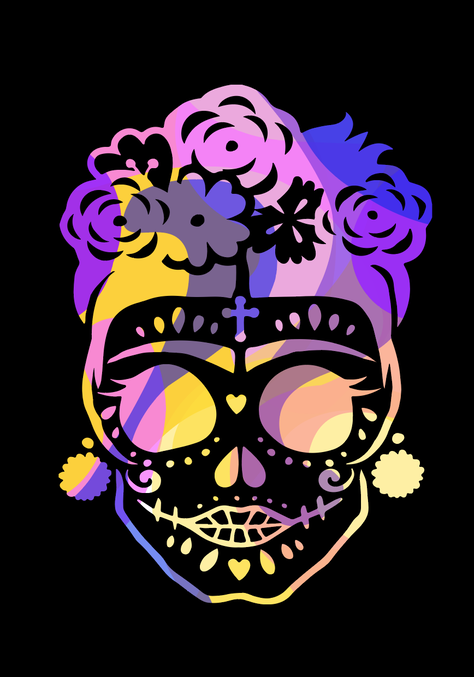
- You can experiment with your work to create different effects.
- Duplicate your background layer to keep each variation
- Try changing the colours of the shapes in the background.
- You can also move the shapes around, try rotating some shapes.
Here is an experiment I did to improve the vibrancy of the colours and provide some balance
With this version I experimented with the colours to create a complimentary colour scheme
Upload your work to Daymap and keep it as the .ai file
