Imagemaking
Learning Context:
The image making task is aimed at you experimenting widely with a range of styles, media and methods to create images. You are to actively use the design principles learnt to create experimental work.
Purpose:
(What is being assessed)
- Exploration to acquire technical skills and use media, materials, and technologies. (Evidenced through a wide variety of image making) PA2
- Use of visual arts language to interpret and respond to works and their contexts. (Evidenced through annotations) AR2
- Evaluation of own practical work. (Evidenced through annotations) AR3
Process:
You will need to choose a simple subject/ image that won't take too long to recreate multiple times. Then you will need to come up with as many different ways as possible to create an image of this object. You may draw, paint, sculpt or use computers. This is to expand your creative abilities both practically and in creativity. We will try a range of activities in class, but you will be required to continue your creative exercises for homework. The focus is about experimentation and problem solving.
- Choose an image that you won’t grow tired of quickly as you’ll need to make many images from this.
- Print the image to use as a guide to trace new variations of your subject:
- Challenge yourself in the series of tasks directed by your teacher, these may include:
- Line drawing exercises
- Using paint and ink with different applicators.
- Printmaking
- Creating clay models
3. Evaluation of your practical work. Annotate your work with short sentences and dot points to explain how you are using the design principles to compose your work. Many experiments will be reflective since the work is experimental. Use design terms and descriptive words in your annotations.
Introduction
There are two main parts to graphic design:
Image - Illustration
Text - Typography
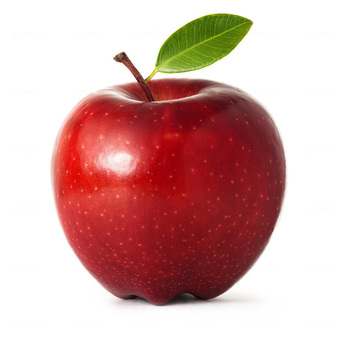
An image represents something. How the image is made communicates information to the viewer. For example, you may have an image of a shiny red apple. In a shopping catalogue, this makes you want to eat it. However, an image of an old apple may change you mind whether you want to eat it or not. An image like this may be more suitable in another context.
What is the essence of this image? How do we recognise this as an apple?
Image - Illustration
Text - Typography
An image represents something. How the image is made communicates information to the viewer. For example, you may have an image of a shiny red apple. In a shopping catalogue, this makes you want to eat it. However, an image of an old apple may change you mind whether you want to eat it or not. An image like this may be more suitable in another context.
What is the essence of this image? How do we recognise this as an apple?
|
|
Through:
Shape/form Colour Texture The proportions
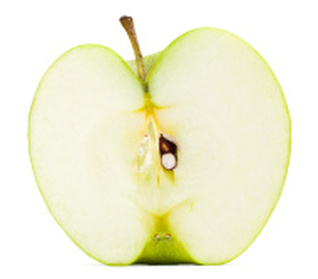
Both images have different signifiers to recognise this as an apple.
Shape/form Colour Texture The proportions
Both images have different signifiers to recognise this as an apple.
How do we make a mark on paper that will communicate to an audience that this is an apple. This is where we use problem solving and experimentation.
Symbol / simple and iconic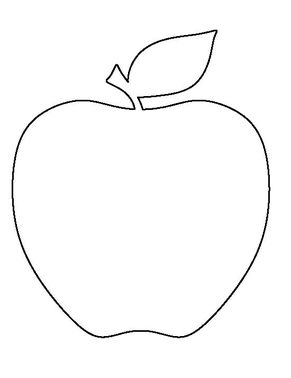
|
Photo real / decorative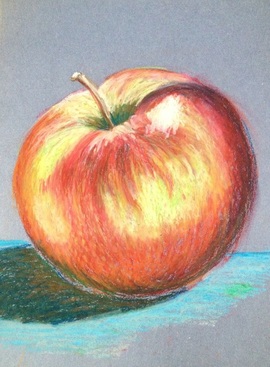
Max Huntley, wax crayons
|
Both of these images are denotative, they represent an apple (no further meaning attached). However, the information in both is different. Describe the differences between the two.
Both of these images have their own function.
Both of these images have their own function.
My example:
Pencil
|

Stencil and spray paint
|
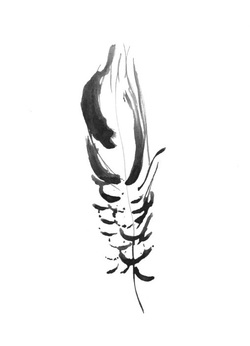
Ink
|
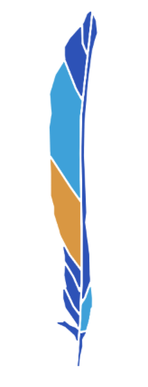
Photoshop
|
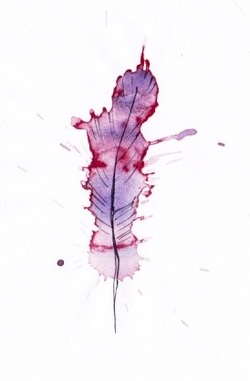
Watercolour
|
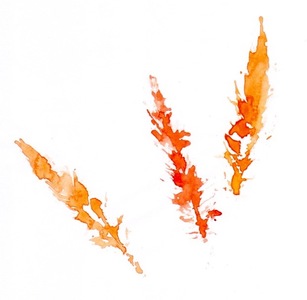
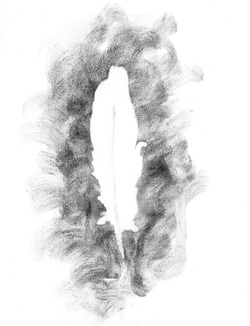
Watercolour print using real feather
|
Through the activities experiment with:
Line quality - creating line using different gestures.
Volume - using texture and weight without outlines or linear qualities.
Colour - emphasis of colour.
Cropping - how close or far away you are from your image.
Push the recognisability. Experiment! All ways won't work. Push the boundaries. When does the recognisability break down?
There is no single or right way to make images. Through these exercises you will learn a range of skills that you can apply in later projects.
Drawing Activities:
- Draw using scribbling lines
- Draw the contours of the object
- Draw using abstracted shapes - Cubism
- Draw using charcoal and erasing features
- Using coloured pens create your drawing using a series of dots - Impressionism
Paint Activities:
- Fill in the shape with water and then drop watercolour paint on the water.
- Fill your image or background with watercolour and sprinkle salt while the paint is still wet.
- Fill your image with watercolour paint or ink. Scrunch some glad wrap and place on the paint.
- Fill image with paint and use a toothpick to spread the paint out in radiating lines.
- Fill in the negative space around the object
- Paint your object, scratch and scape the paint
Print making:
- Trace your image with PVA glue on cardboard. Once dry, roll ink on top of the glue and print the image onto paper.
Photoshop:
- Low poly
Ideas to continue on for homework:
|
A list of medium and techniques to try:
|
Styles to try:
|
